SEO App Guide
Please note that Storyblok's documentation is currently undergoing major restructuring. Most resources can now be found on the dedicated documentation platform. This resource and others will be updated and moved shortly.
This guide aims to show you with bite-sized, easy-to-follow content, video demo, and in-depth coverage of everything you need to know about the SEO App.
How to install and use the SEO App in Storyblok
To enable a special field for managing SEO meta tags, Open Graph (Facebook) meta tags, and Twitter meta tags, you can install the SEO application.
In the Apps Directory {1} select the SEO application {2} and then install it. It enables a new custom type Plugin in the Plugin field type.
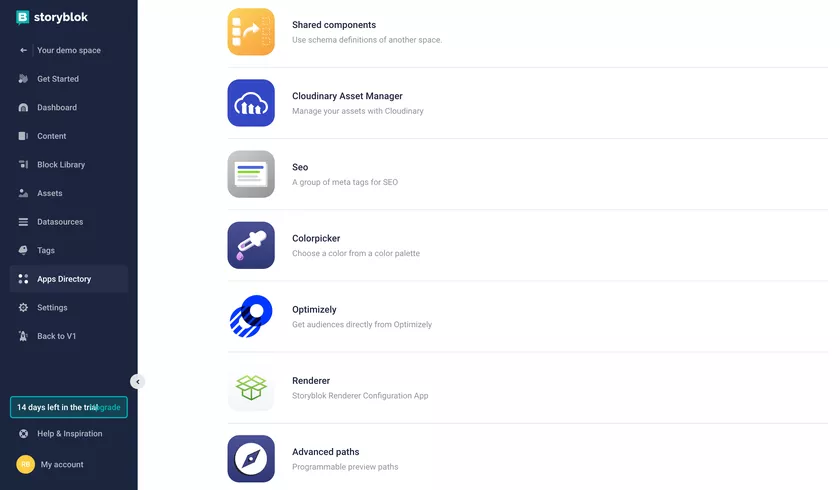
SEO Plugin
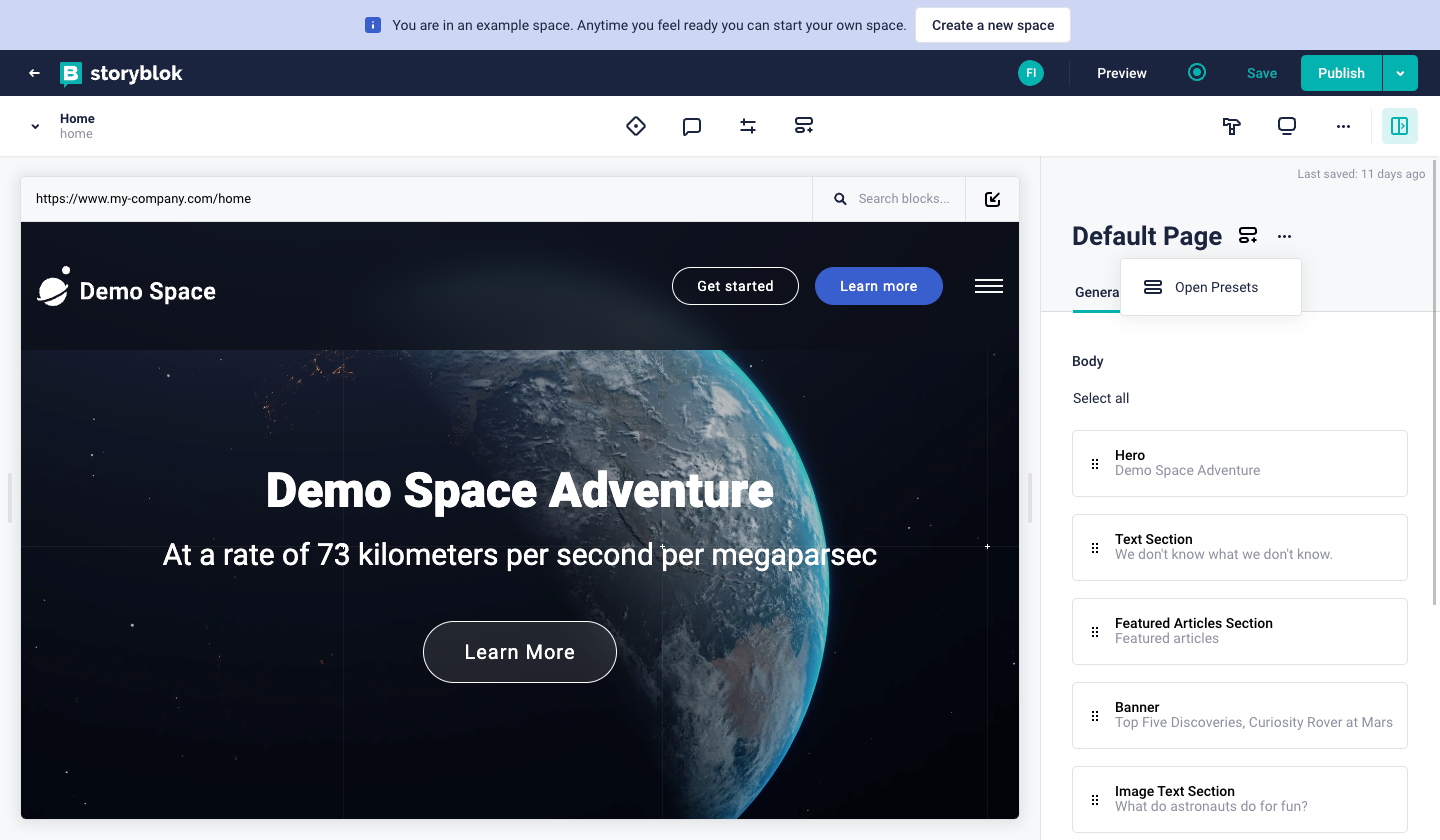
There are a few different options to add metadata to your content to improve your SEO. The first one is Storyblok’s SEO Plugin which you can add to your app by following these steps:
- Install the SEO metatags plugin. Click on the icon {1} of your Story to open the "Block Library".
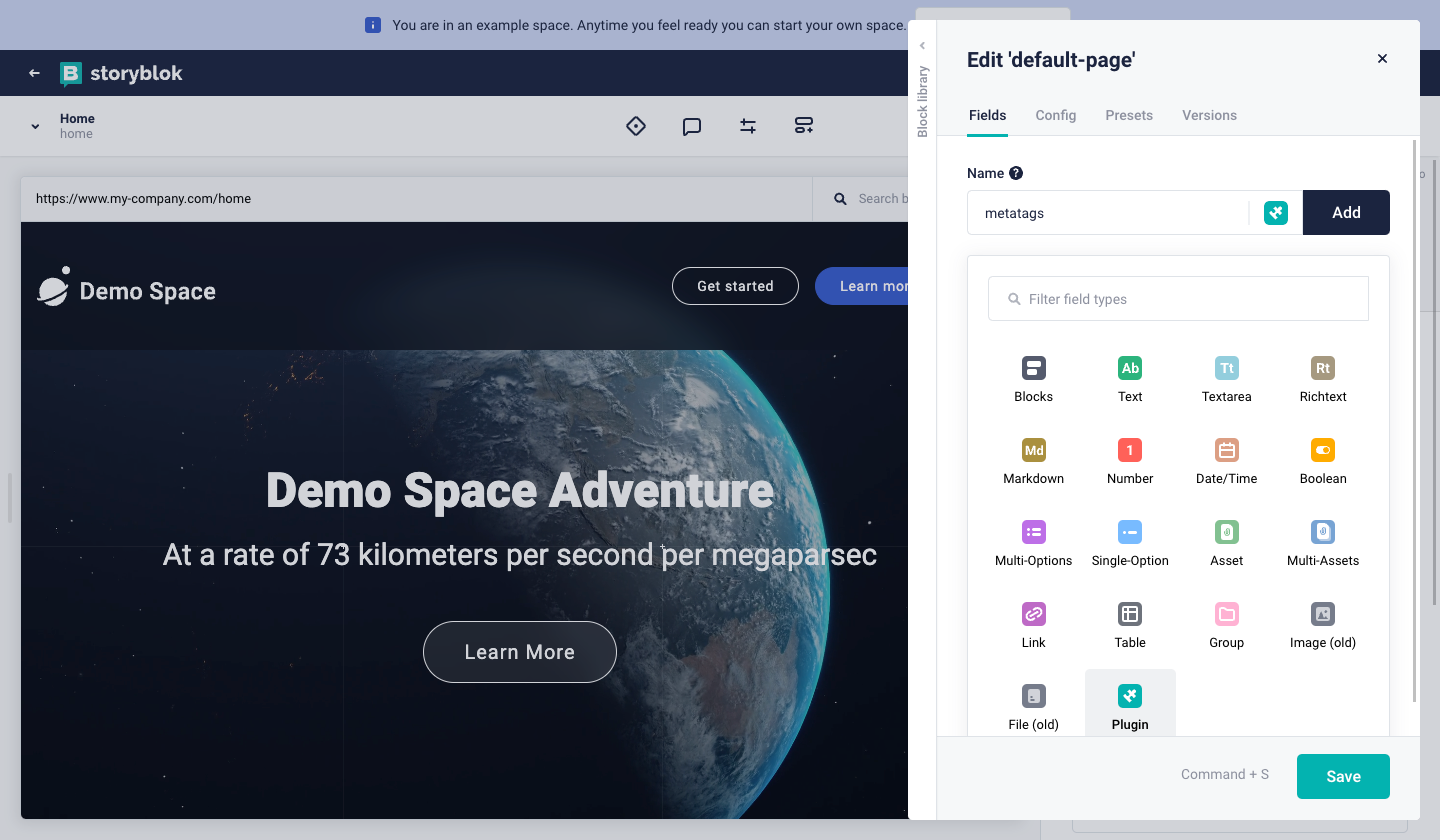
- In the Block library, in the Fields tab, add a new field to the schema of your page, filling the name {1}, selecting Plugin as field type {2} and the click to Add button{3}.
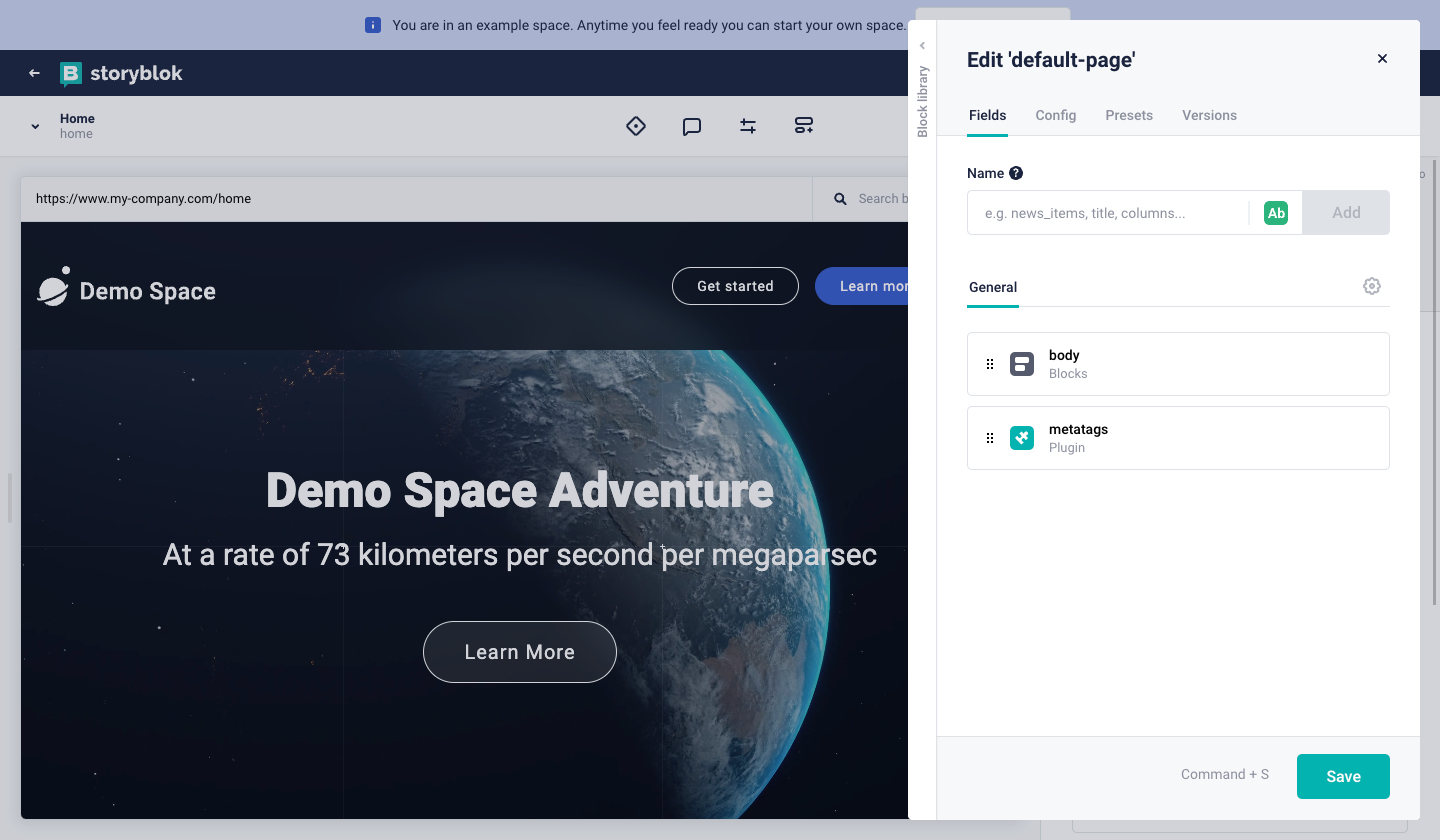
- Once the field is added, it is available in the list of fields of the page. To define its properties, select the new element from the list {1}.
- In the ‘Edit field‘ tab, for ‘Custom Type‘ select ‘seo-metatags’ {1}.

- Save, and now the authors can edit the title {1}, description {2}, and see the Google preview snippet {3} in the visual editor.
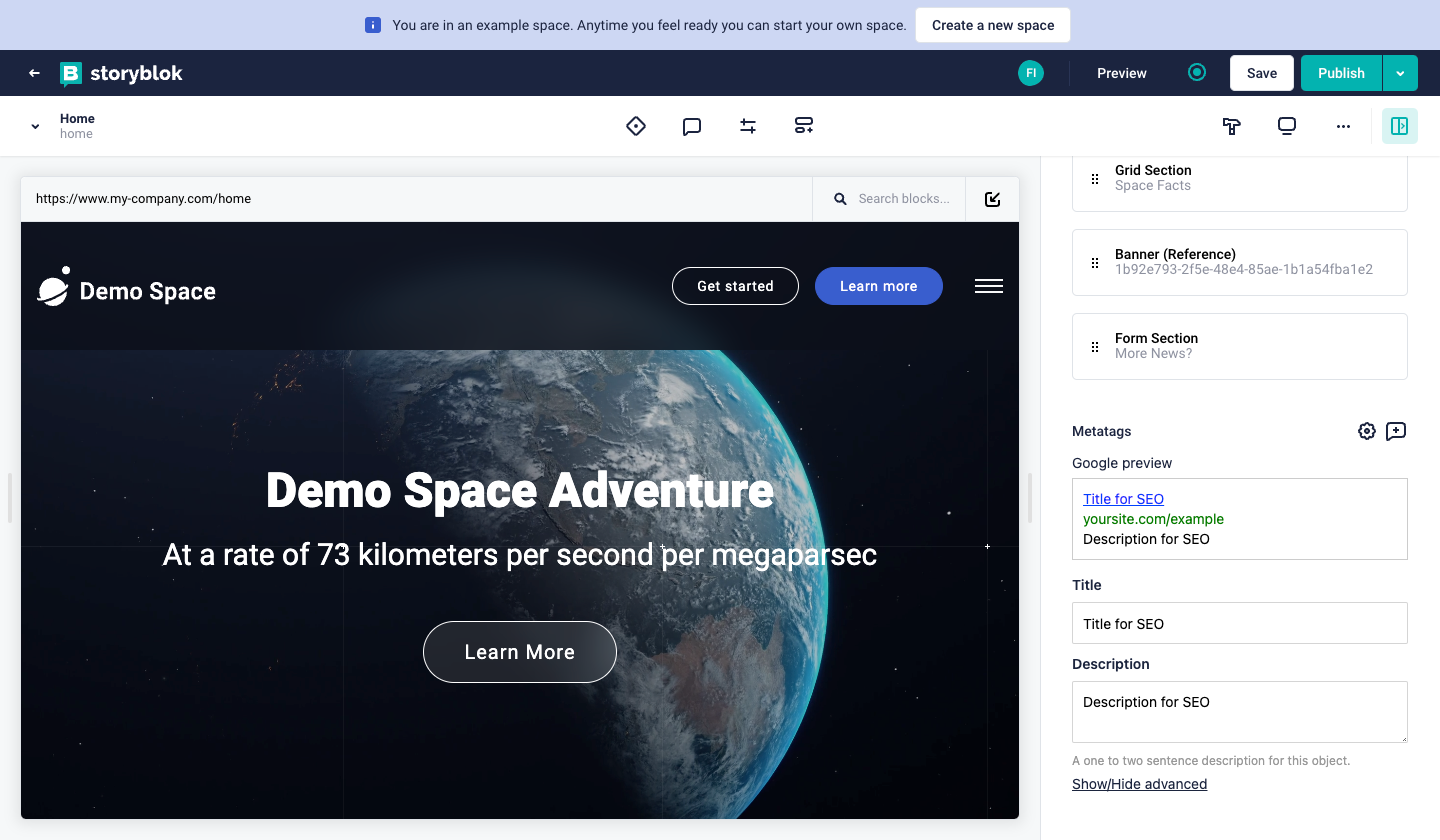
- By clicking on ‘Show/Hide advanced’ {1} you can also configure the OG image, OG title, Twitter description, and much more.
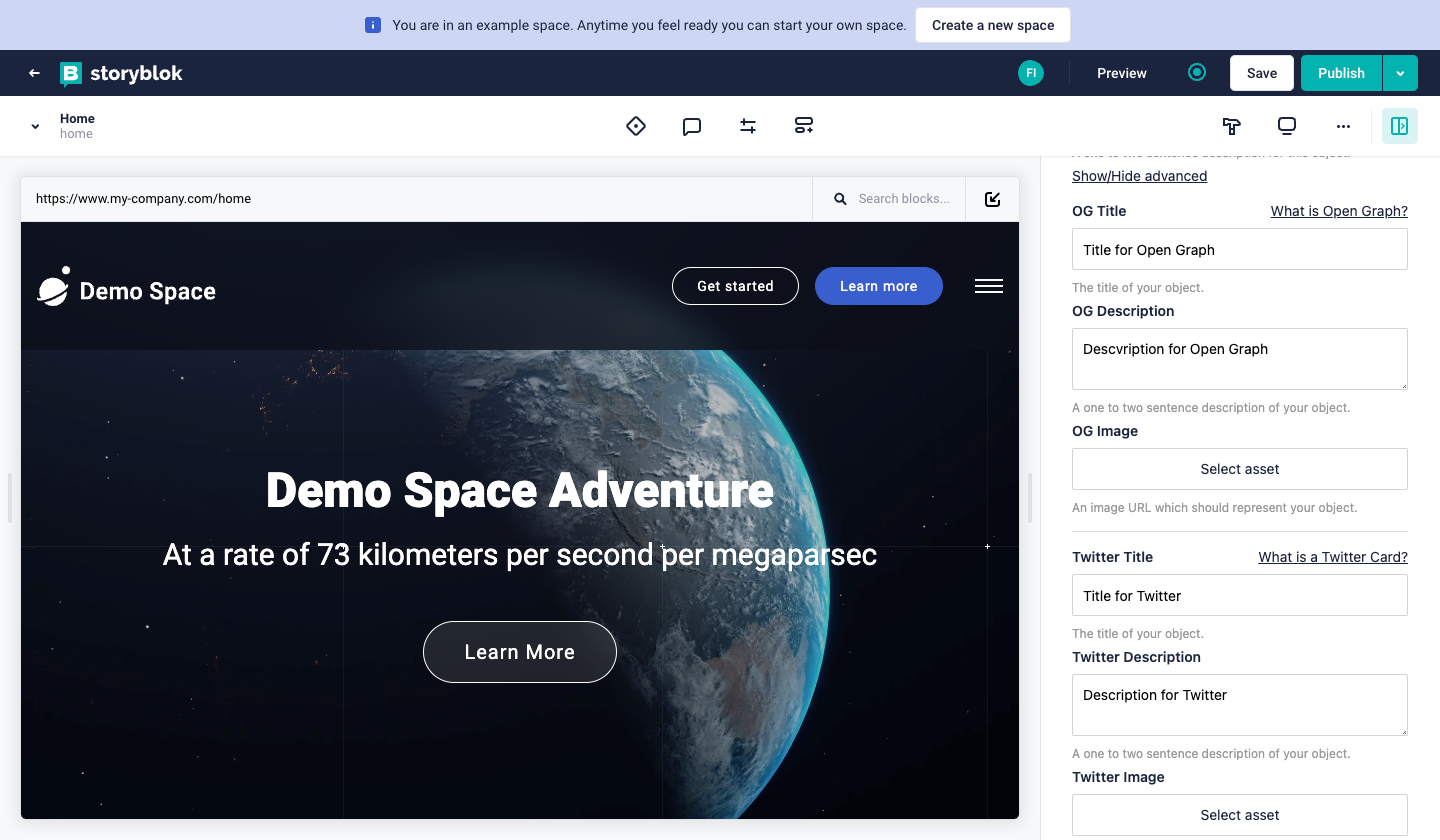
Make sure you link the meta fields to your code - just like you do with your other content.
Create nestable Components for SEO
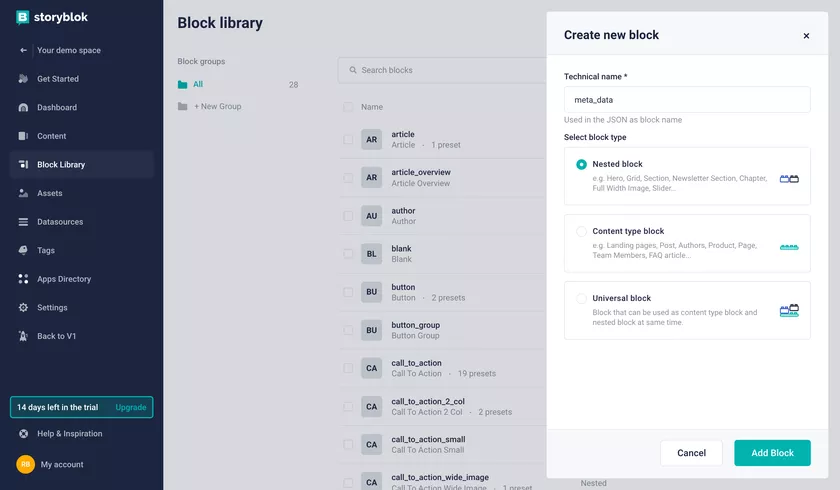
You can also create nestable components to store your metadata. This can be done through the ‘Block Library‘ tab {1} in your Storyblok Space.
- Add a new component by clicking the ‘New Block’ button in the top right corner {2}.

- Give your new component a name {1}, select ’Nested block’ {2}, and then click to ’Add block’ button {3}.
- Add the component fields, giving a name {1} and clicking the ’Add’ button {2}. Once you have created all fields, click the ’Save’ button {3}.

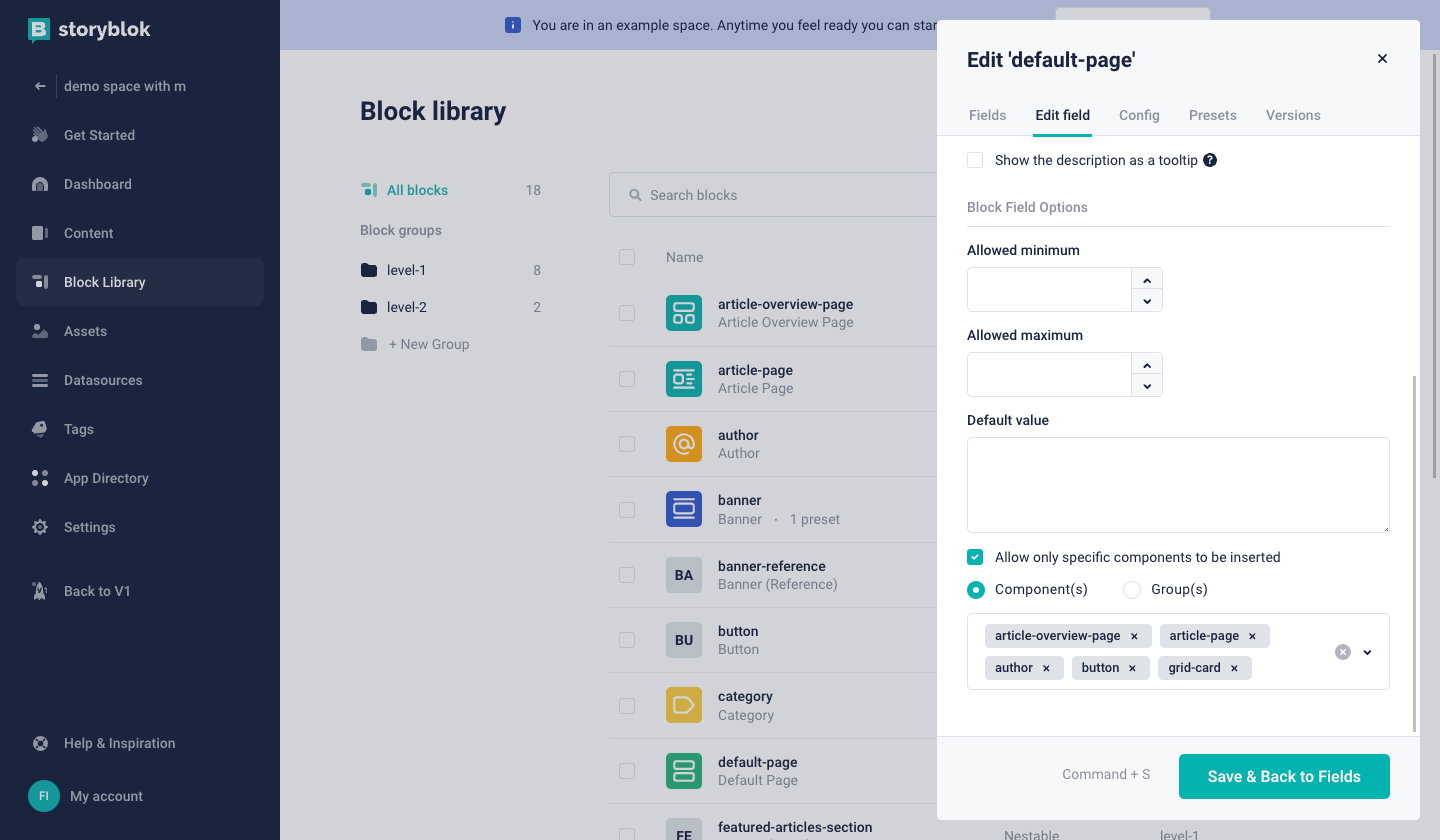
- Once the component is created, you can start using it, in your stories. Select the story you want to add the component to and make sure that the new component is whitelisted {1}.
- Now you can add your new component as you typically do for all other components. Once it's added you can edit its properties like Meta Text and Meta Description.
Make sure that your backend and data sources always reflect the changes you want to make in the frontend. If you add fields for metadata within Storyblok, you want to be sure these are also set up in your code.