Asset Manager
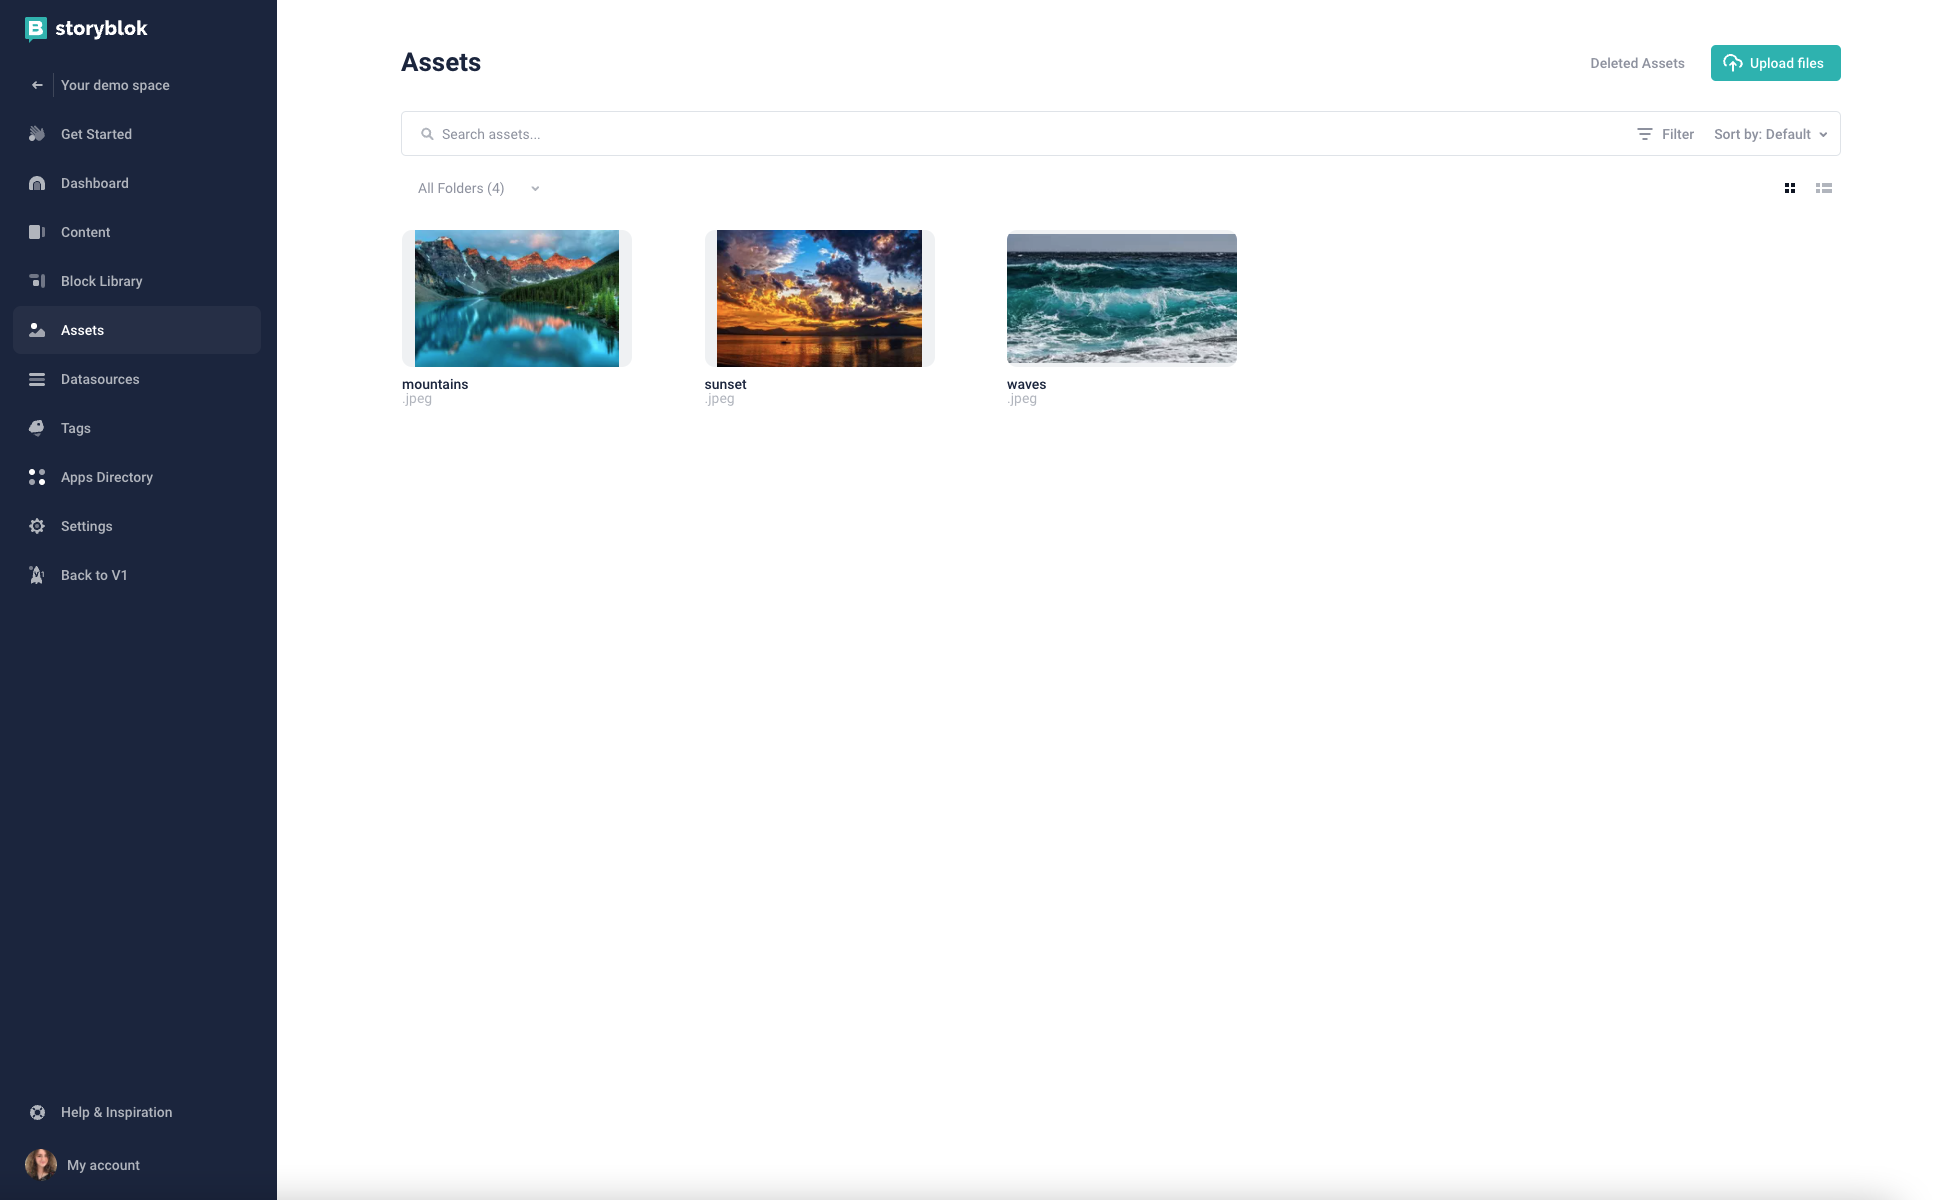
Storyblok’s asset manager allows you to take control of your projects' assets. From here, you can add, view, edit, and delete assets, all from a single place. To access this interface, select Assets from the lefthand menu {1}:
Uploading to the asset manager
To upload something to the asset manager, select the Upload files button in the upper right corner. You will then be able to choose an asset from your computer to upload. After you make your choice, you will see the following screen:
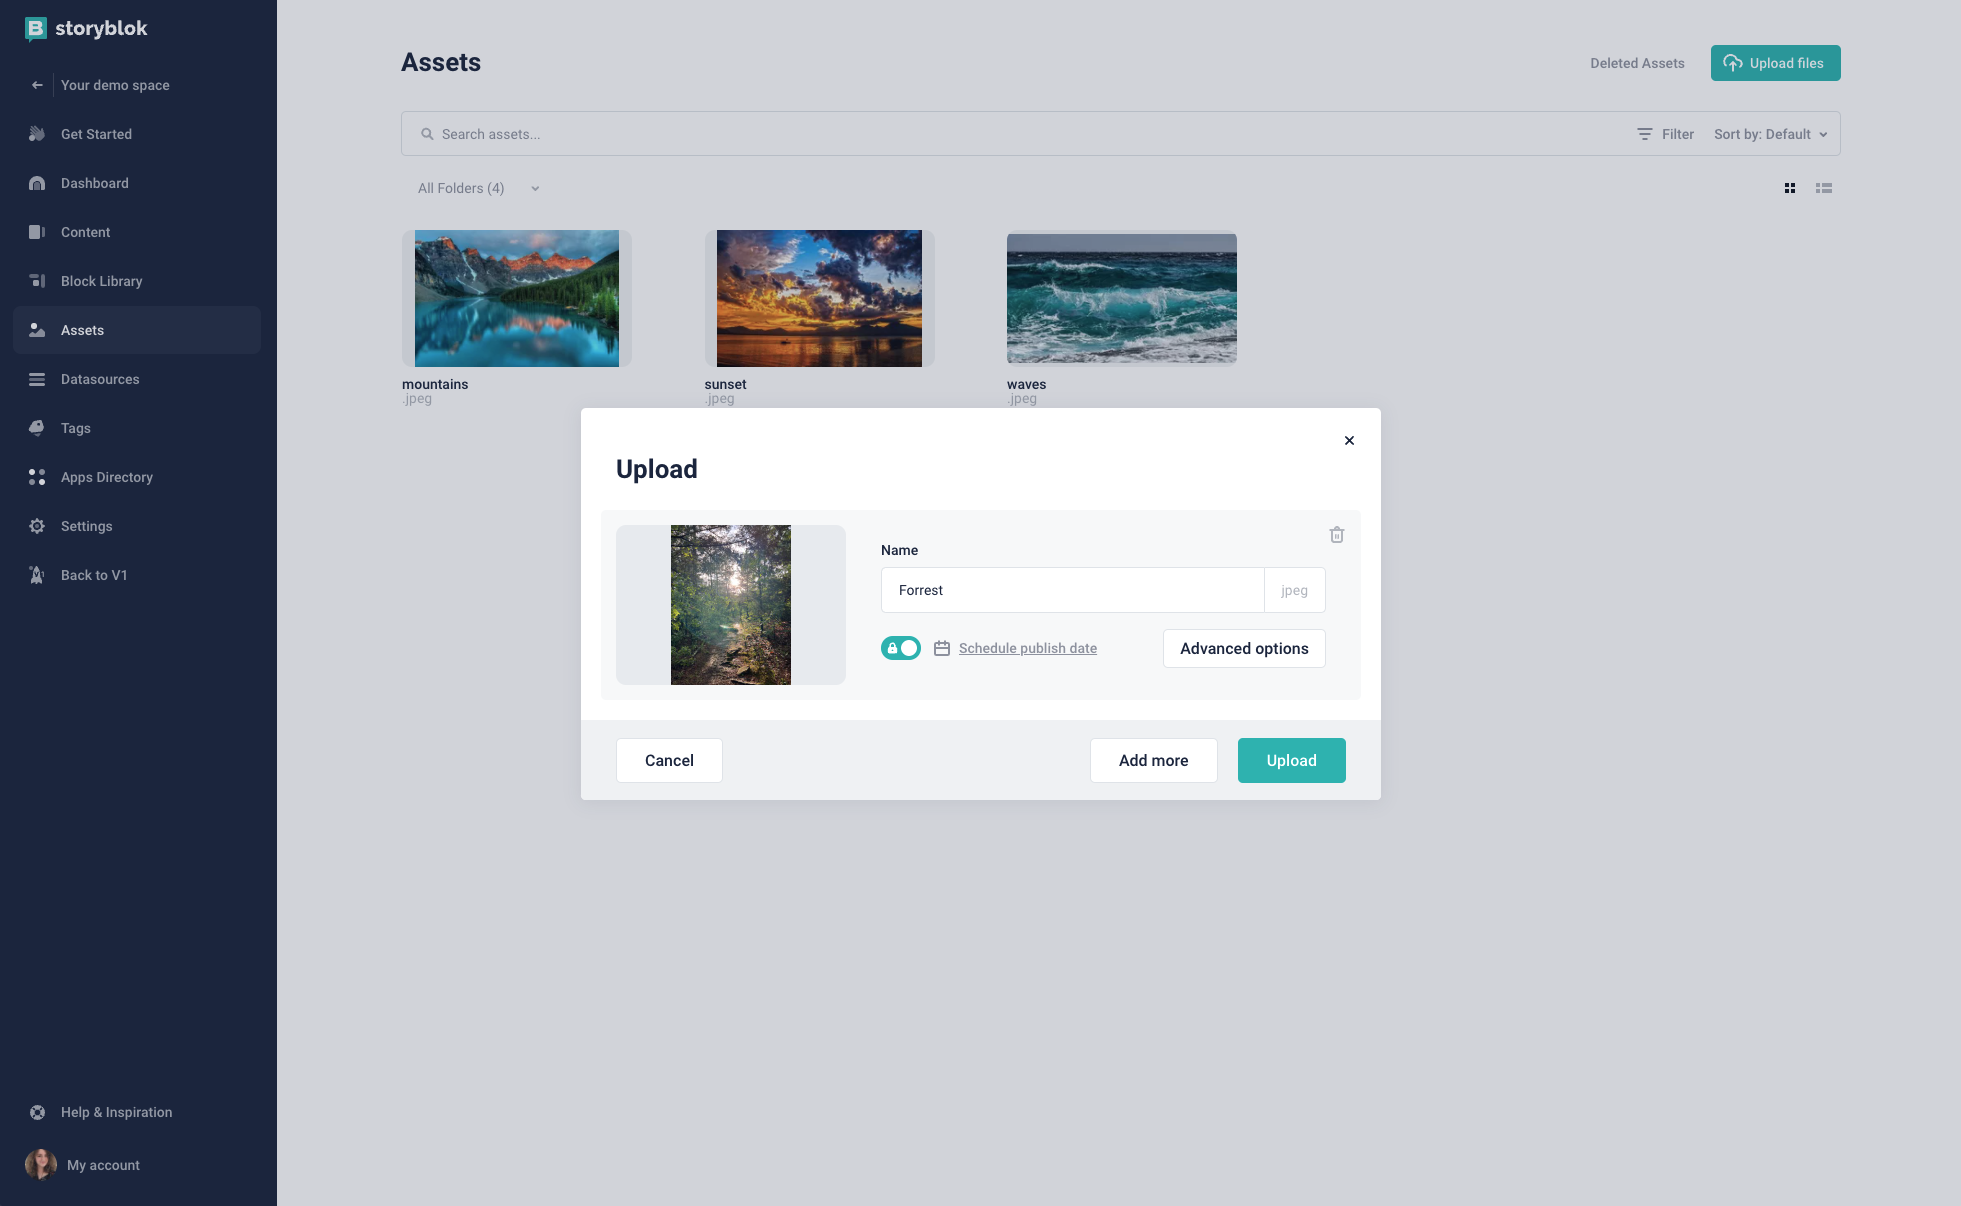
To change the name of the asset, you can edit the Name field {1}. If you want to upload the asset as private (not available to the public and only accessible through an access token), toggle the Private access button {2}, shown here in the ‘on’ position. You can also click Schedule publish date to decide when the asset will automatically be made public.
You can click Add more {3} to upload more than one asset at once. If you want to delete any assets, simply hover over it and select the trash icon in the upper right corner {4}. For more options, you can click Advanced options {5}. This will take you to the following screen:
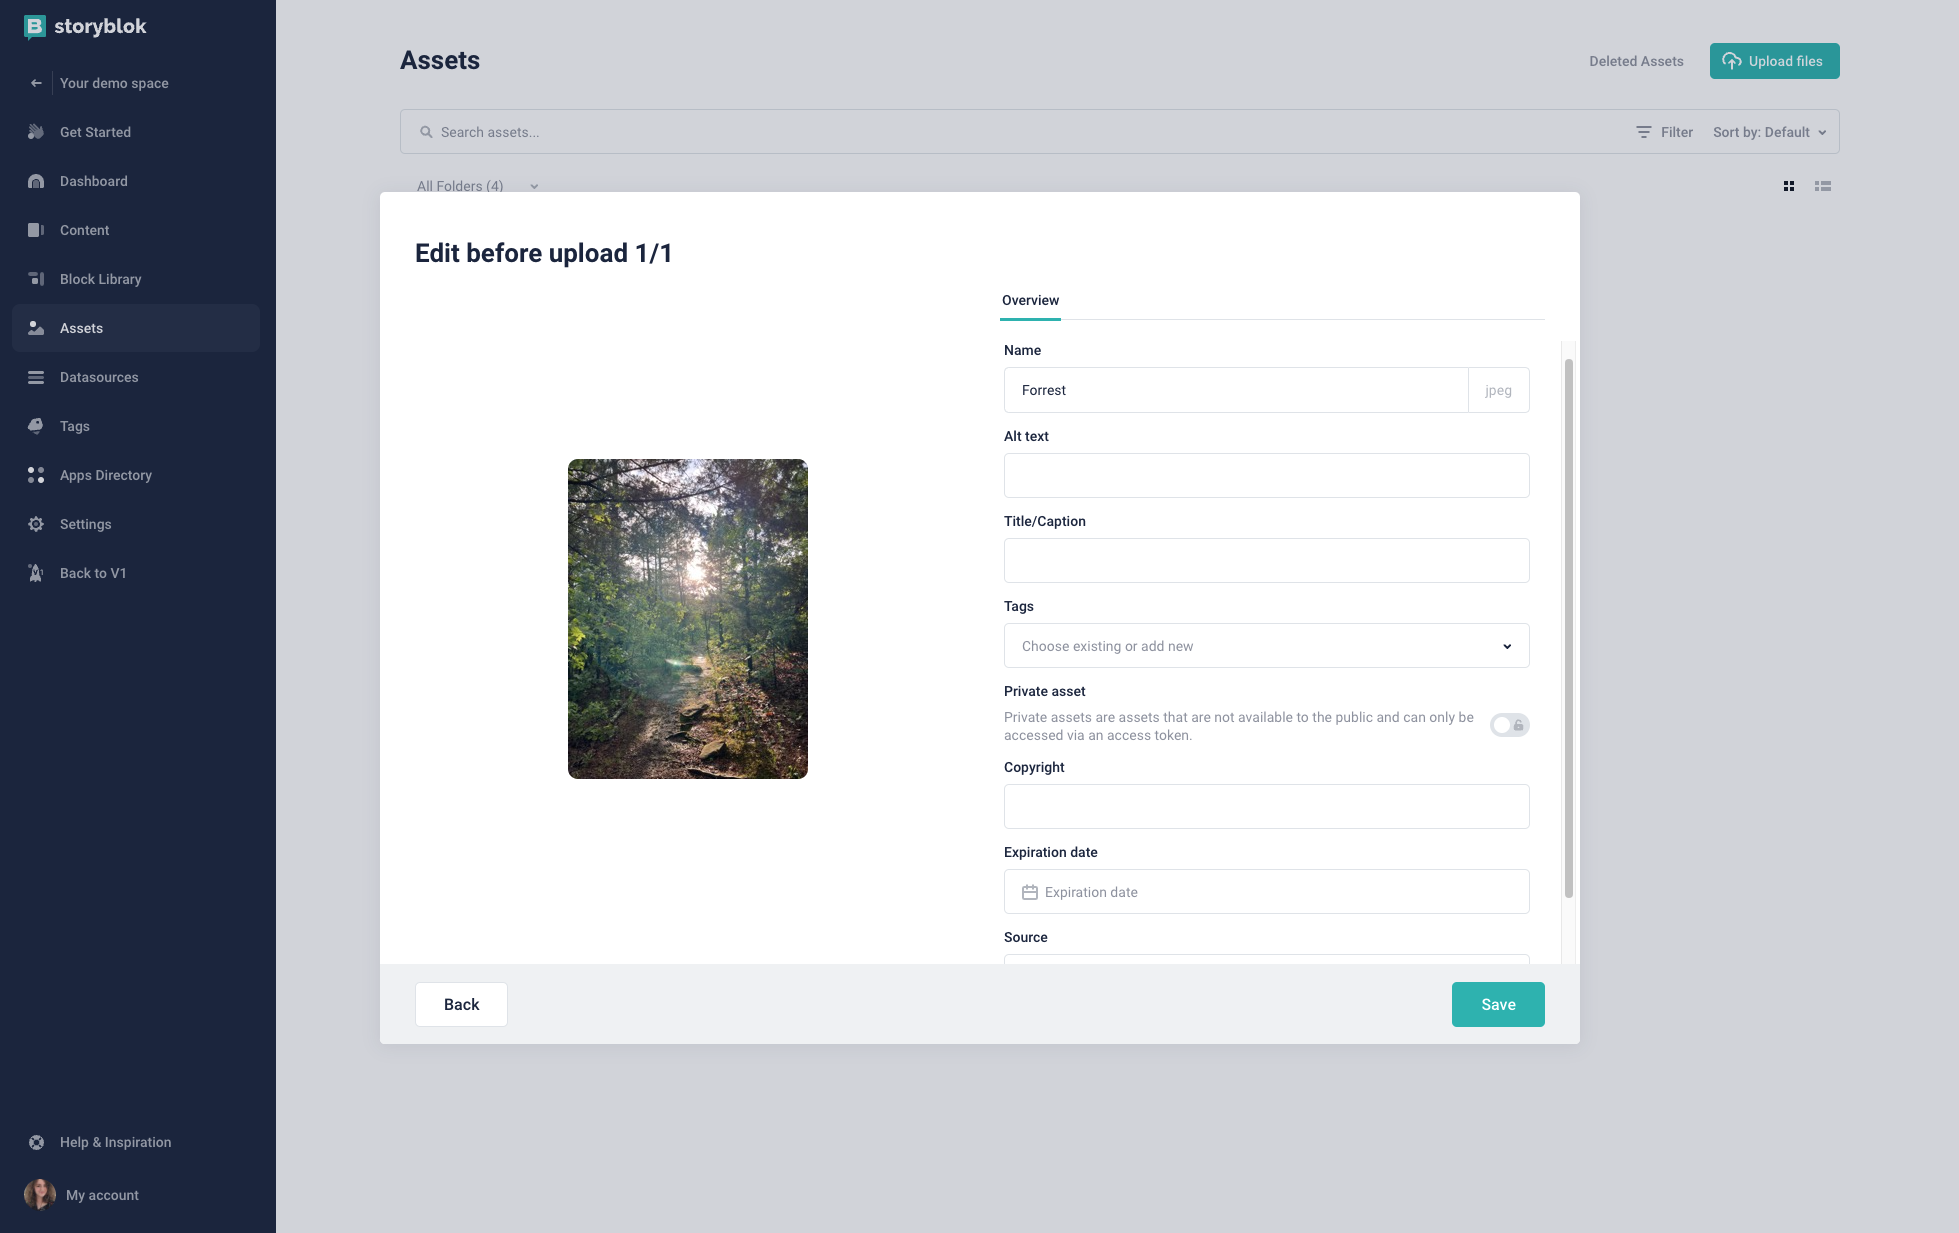
You will once again have the option to change the name in the Name field. After that, you’ll see the option to add Alt text {1}. Alt text is what a page will display if the image cannot load. It is also what a screen reader will read. In the following field, you can also add a Title/caption {2} to the asset.
In the Tags field {3}, you can add a new or existing tag to your asset. For more information on tags, please see our dedicated editor doc.
The Private asset field again gives you the option to restrict access. Next is the Copyright field {4} where you can add relevant information about the asset’s permissions. Similarly, you can use the Expiration date field {5} to determine when the asset will be deleted. This can be helpful for avoiding copyright issues. The final Source field {6} gives you the opportunity to cite where your asset comes from.
When you’re done, you can click the Save button. This will return you to the first screen where you can then click Upload to complete the process.
Please be aware of any asset type upload restrictions that may apply to you.
Editing assets
After an asset has been uploaded, you can continue to edit it. Hover over the asset you want to adjust and click the three dots in the upper right corner {1}. Then, click View Details {2}:
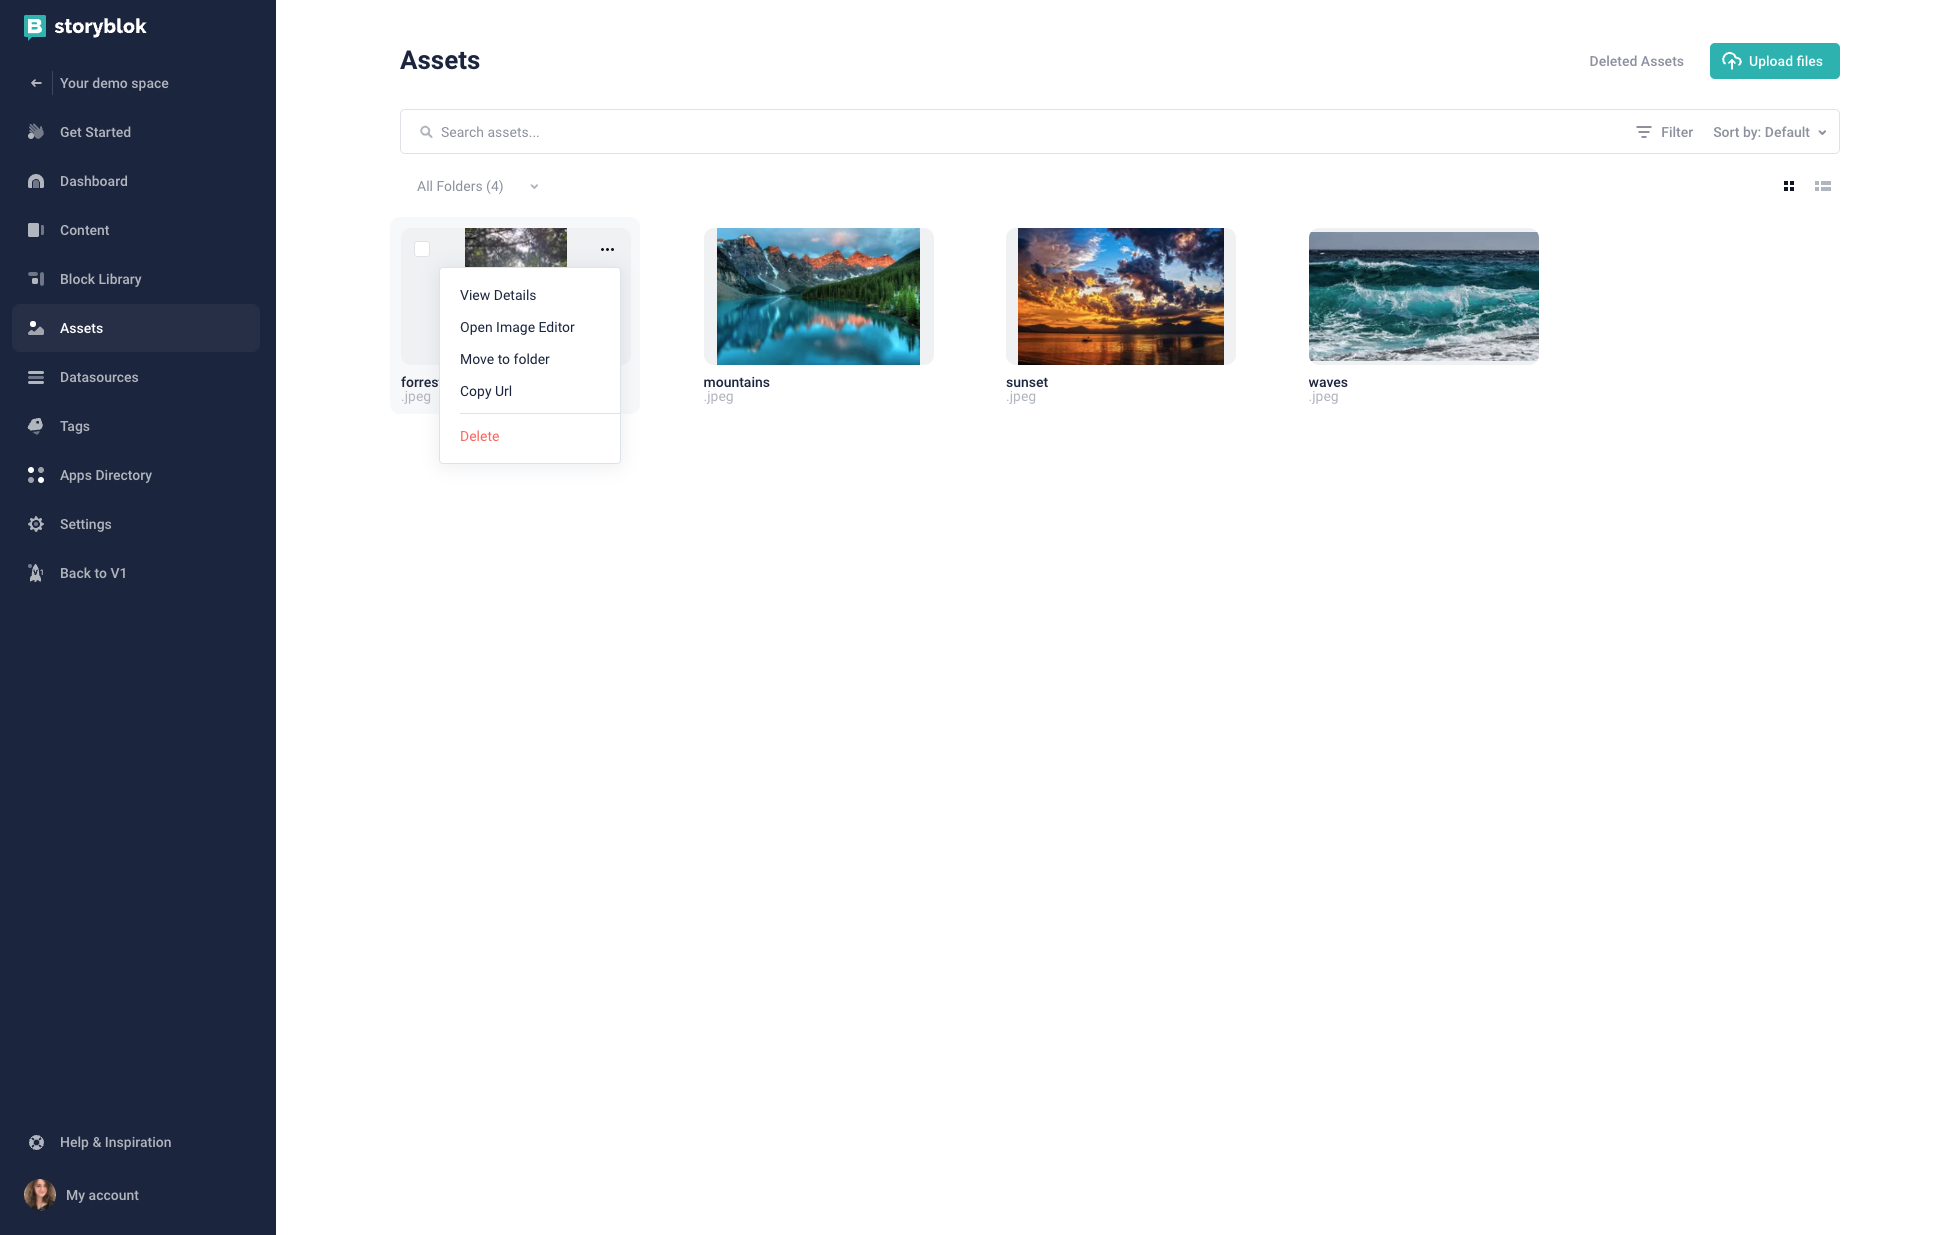
You will then be taken to the following screen:
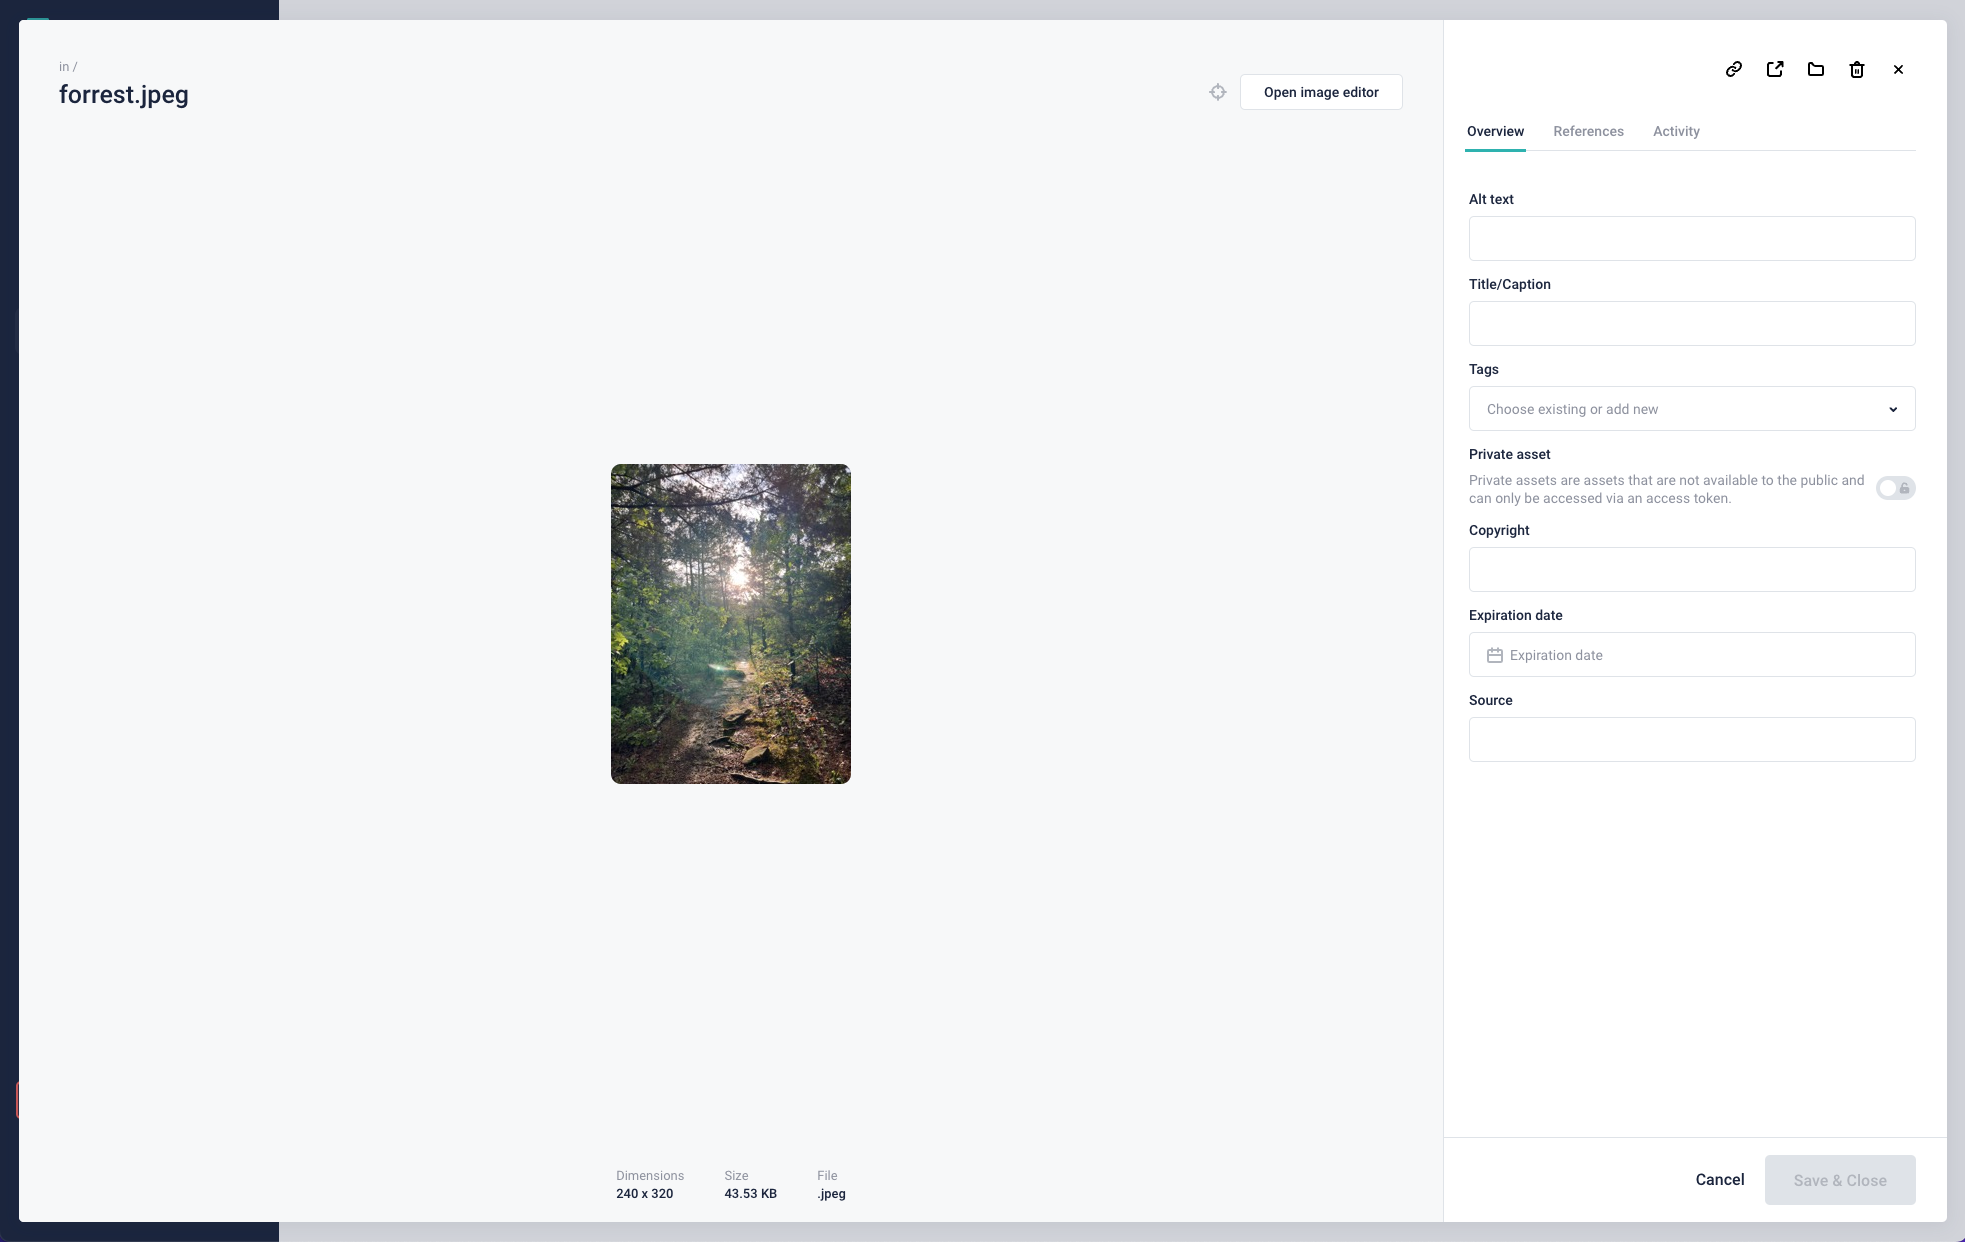
At the top, you’ll have four basic management options {1}. In order from left to right, they are:
- Copy the URL of the image
- Open the file in a new window
- Move to folder
- Delete Asset
You will again have the chance to edit basic information from the upload process in the Overview tab {2}.
If you switch to the References tab {3}, you’ll be able to see every instance of the asset on your site:
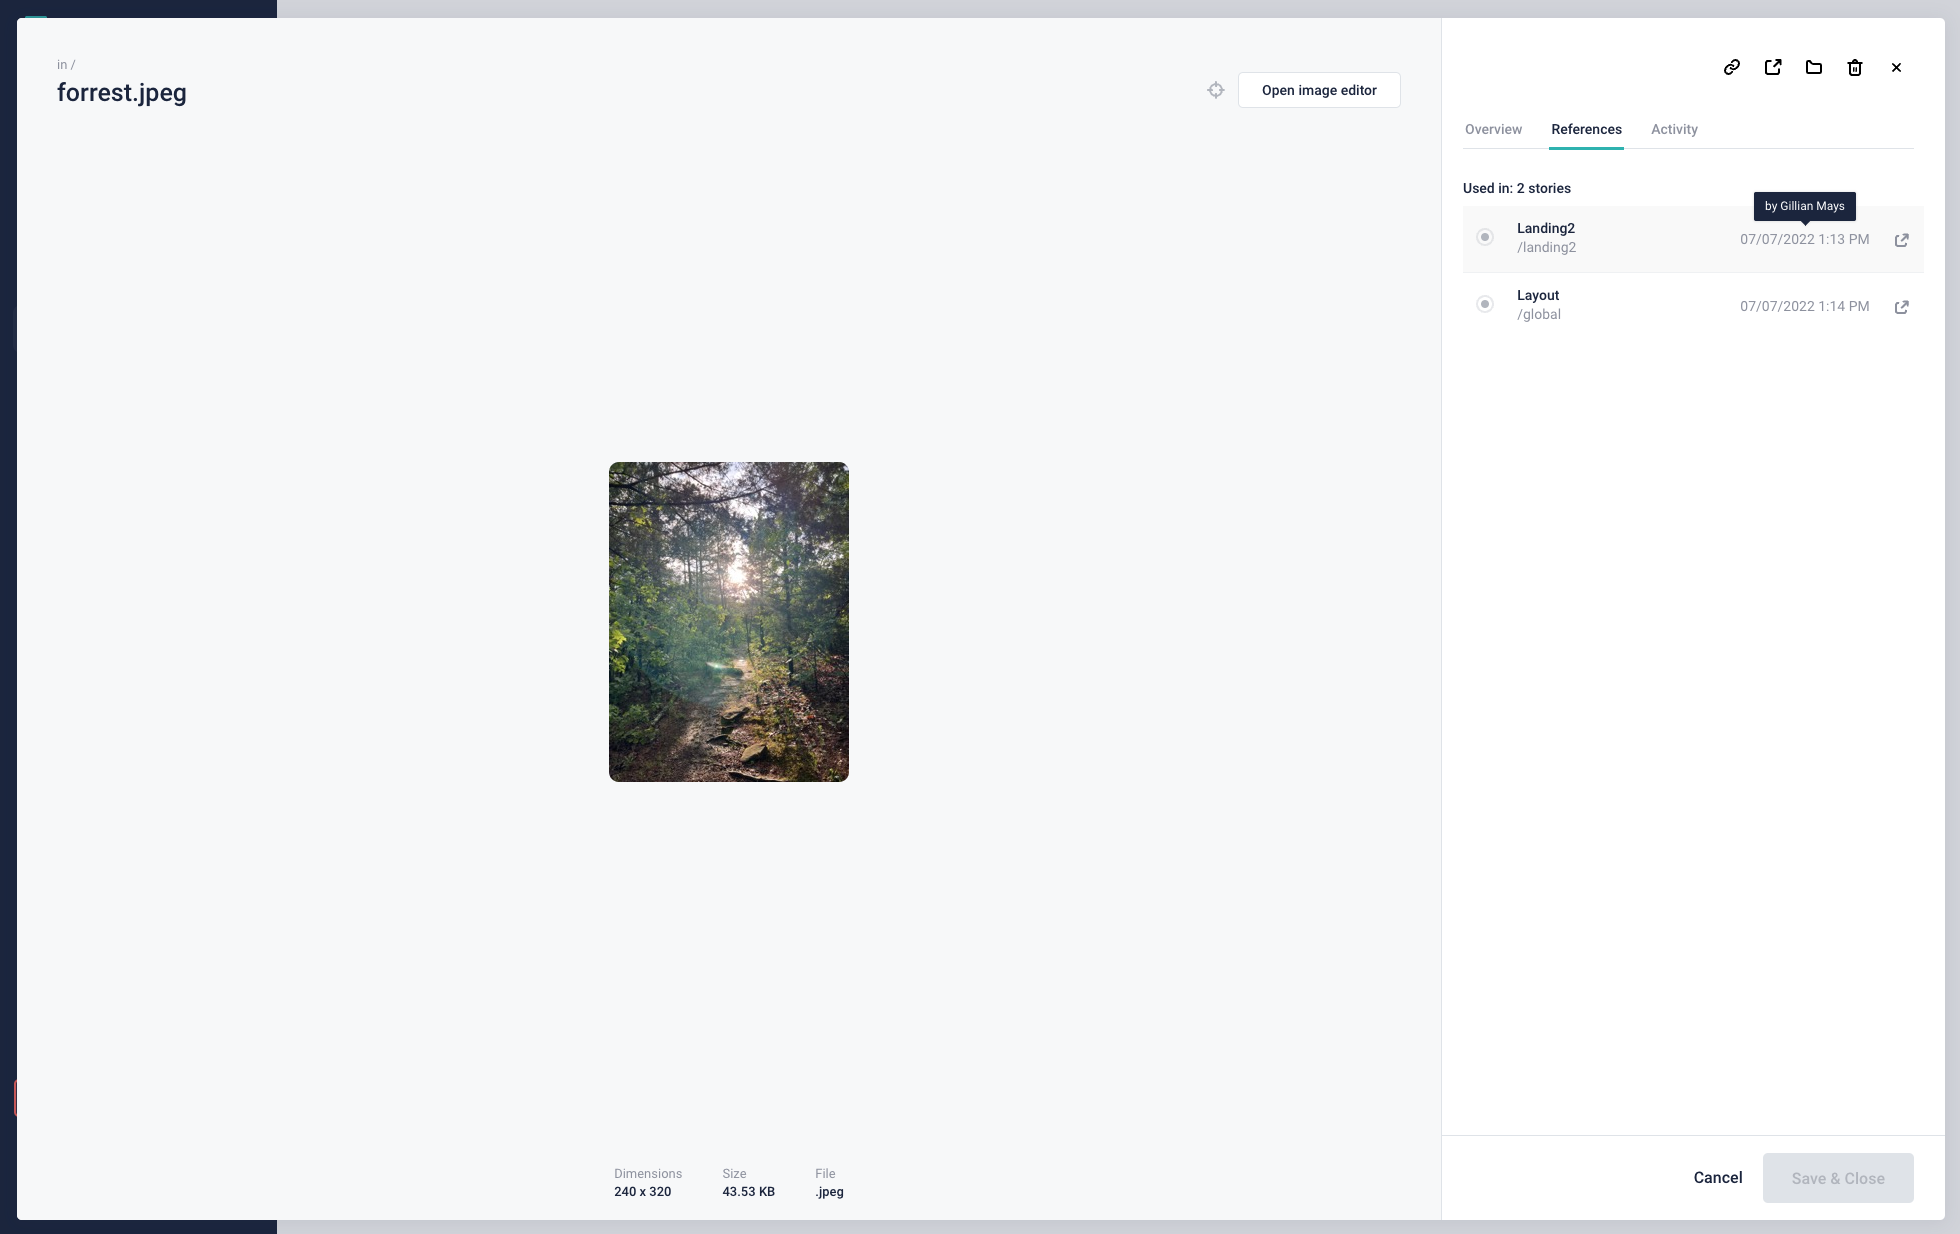
You can also see its publication status {1}, date of use {2}, and user information {3}, as well as a link directly to the location it is being used {4}. This is a very helpful way to keep track of where and how you’re using your content.
AI Alt Text Generation
In spaces with AI enabled under Settings > AI Settings, you can have the Alt Text field populated with a description generated via AI. Once enabled, notice the Generate Alt Text label right above the Alt Text field. It is possible to generate such a description in the uploading dialog or for already uploaded assets managed via the Assets Library or accessed from the Visual Editor.
Alt Text Generation works for images in PNG, JPG, and WEBP formats.
These are the languages we currently support for this feature: English, Spanish, French, German, Italian, Dutch, Portuguese, Russian, Japanese, Korean, and Chinese. You can programmatically check this list using our API endpoint.
Image editor
The asset manager also gives you the power to alter the media itself. One way is by selecting a focal point.
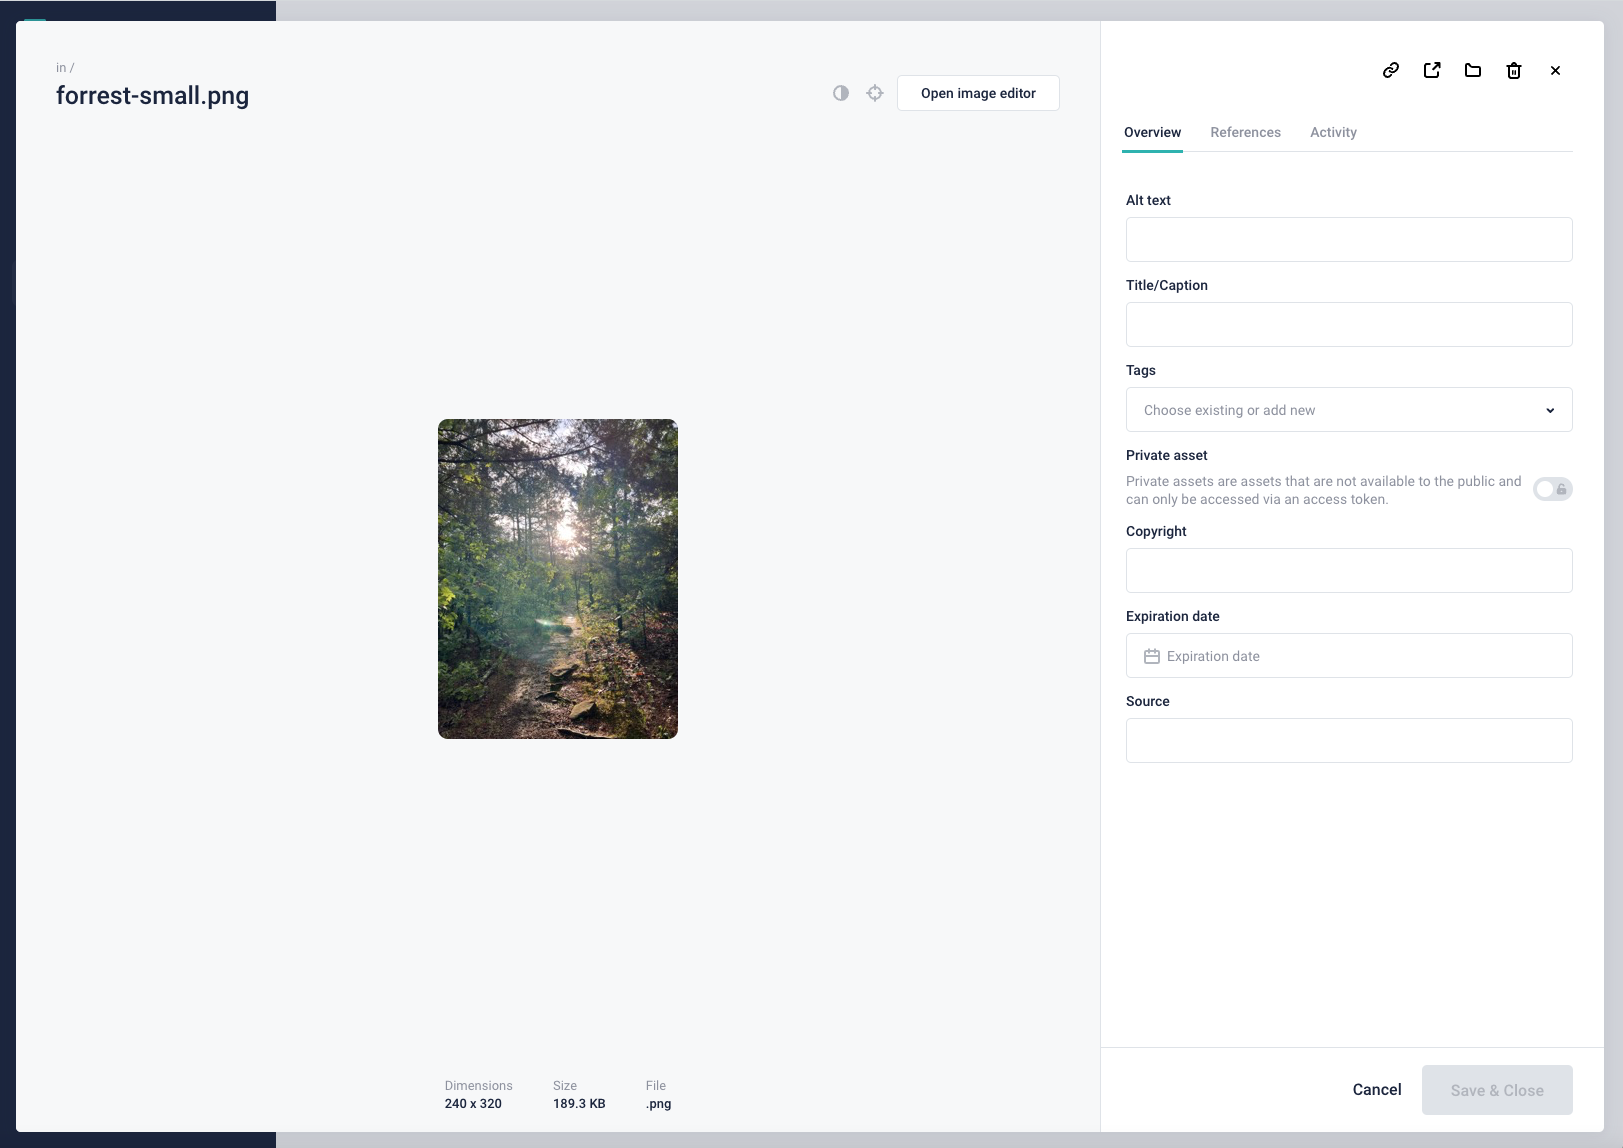
From the View Details screen, simply click the crosshairs {1}. Then, hover over the image and click wherever you’d like the focal point to be. If you want to remove it, click on the crosshairs again.
Another fast edit here is to change the color contrast. This can make it easier to work with your assets. Simply click the contrast option {2} next to the crosshairs to activate it.
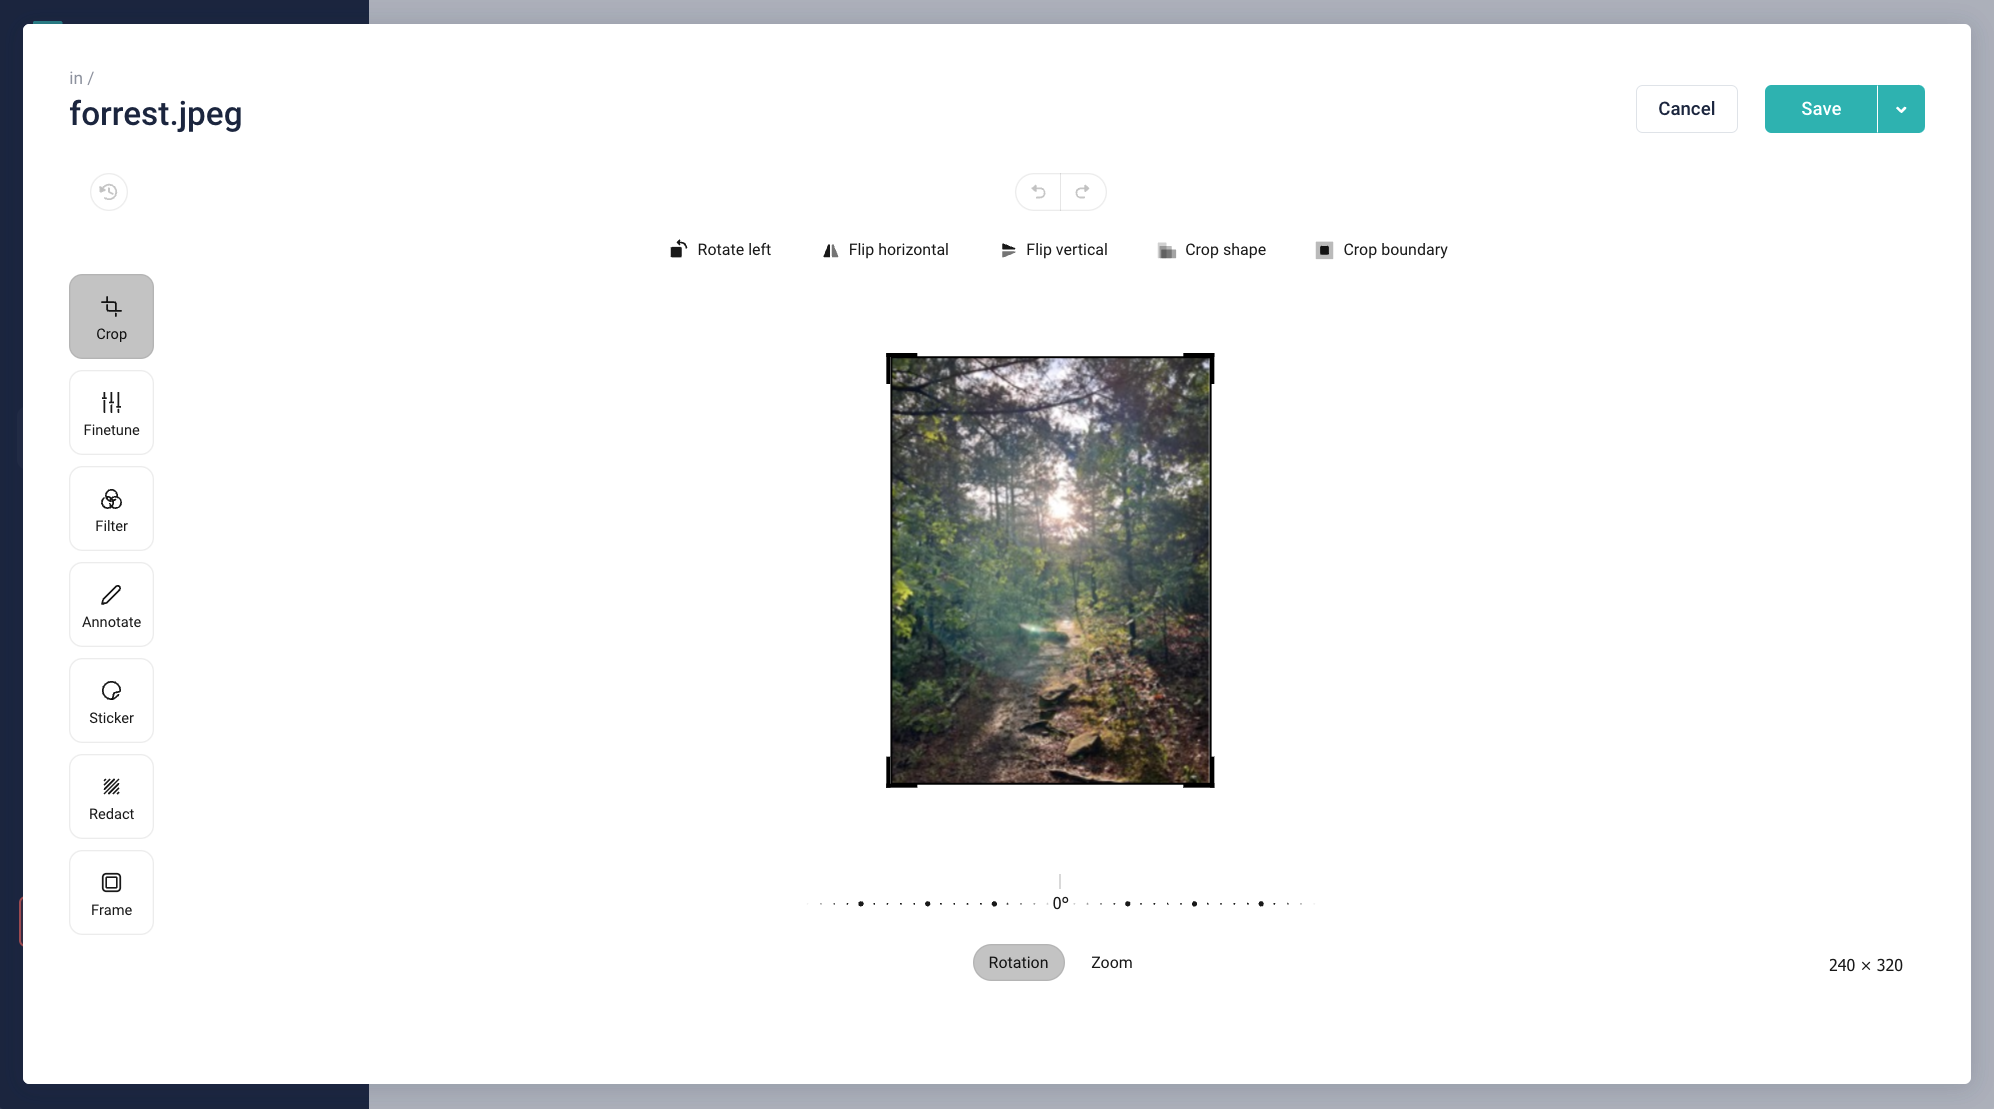
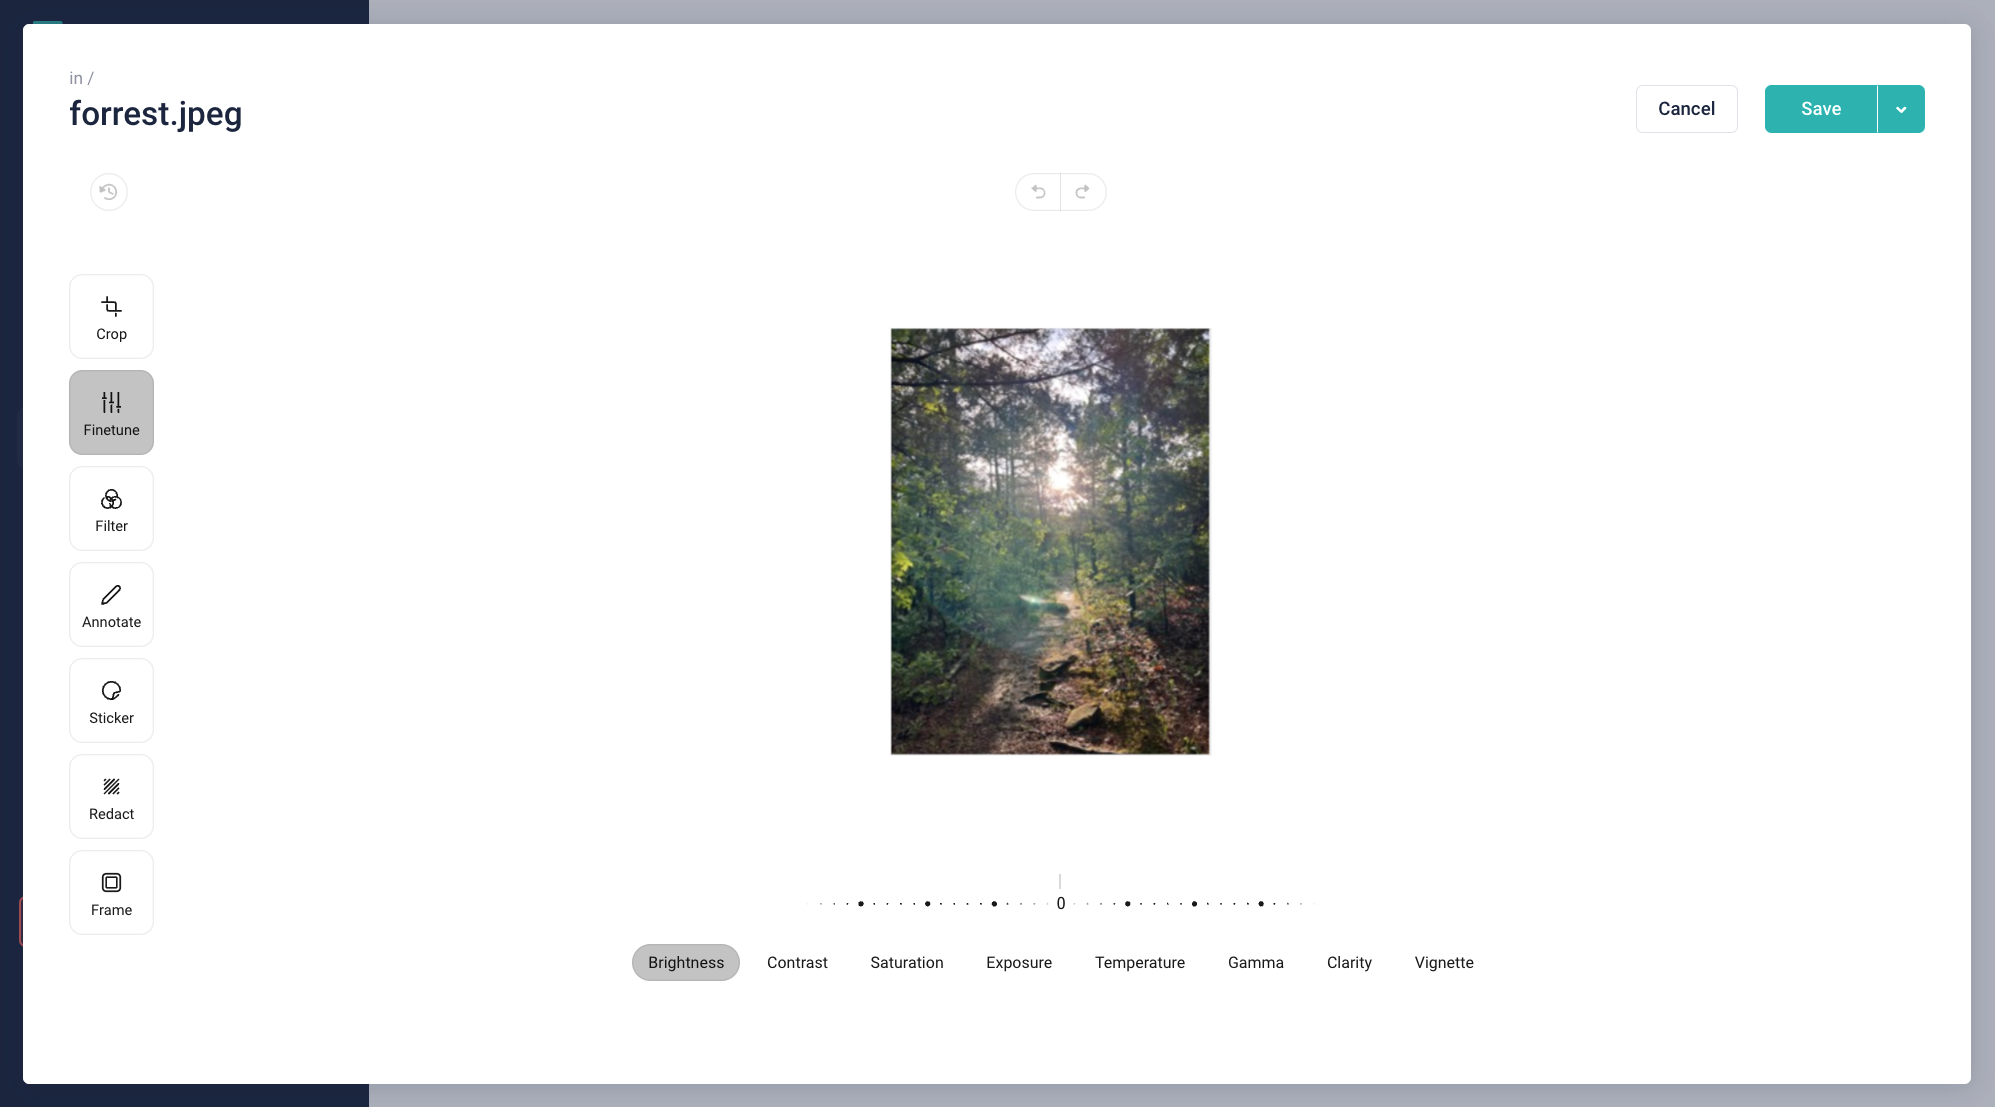
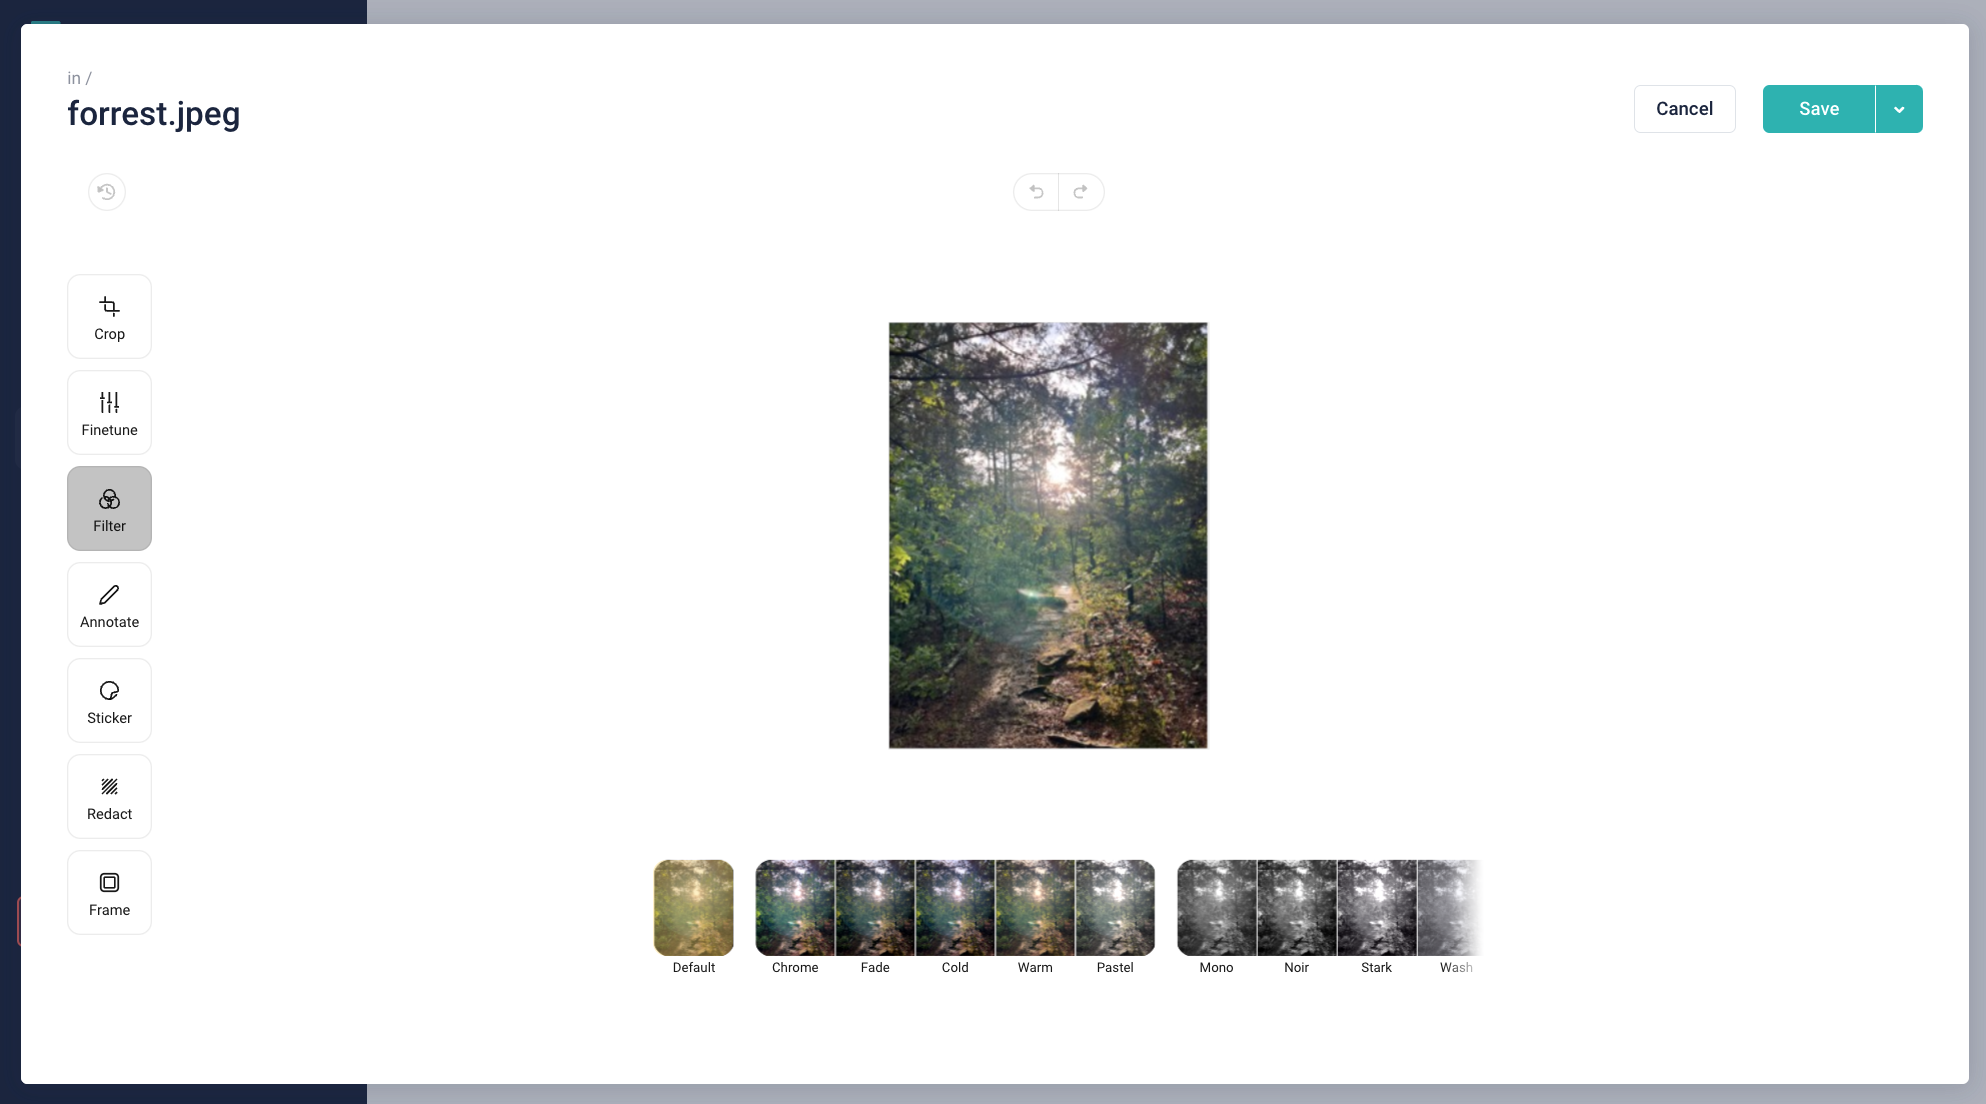
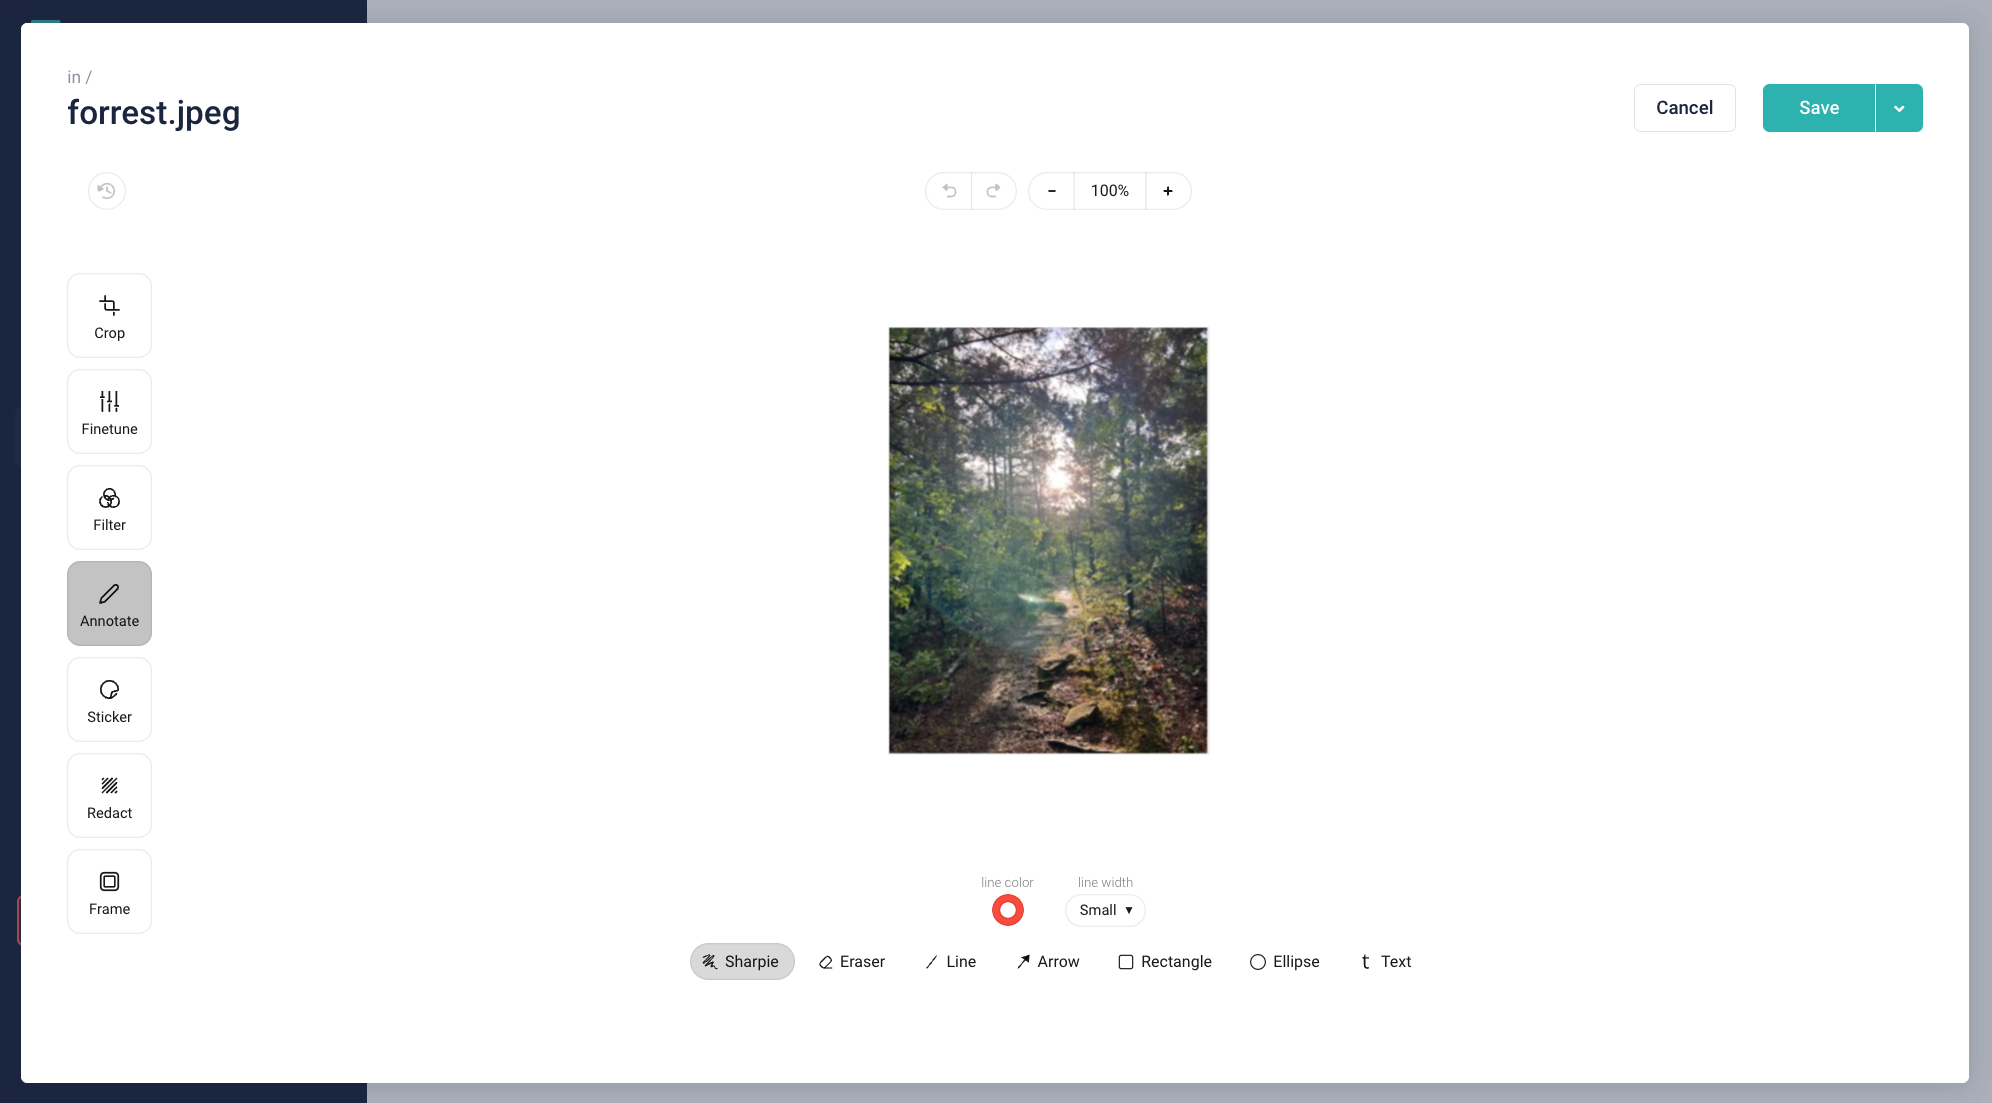
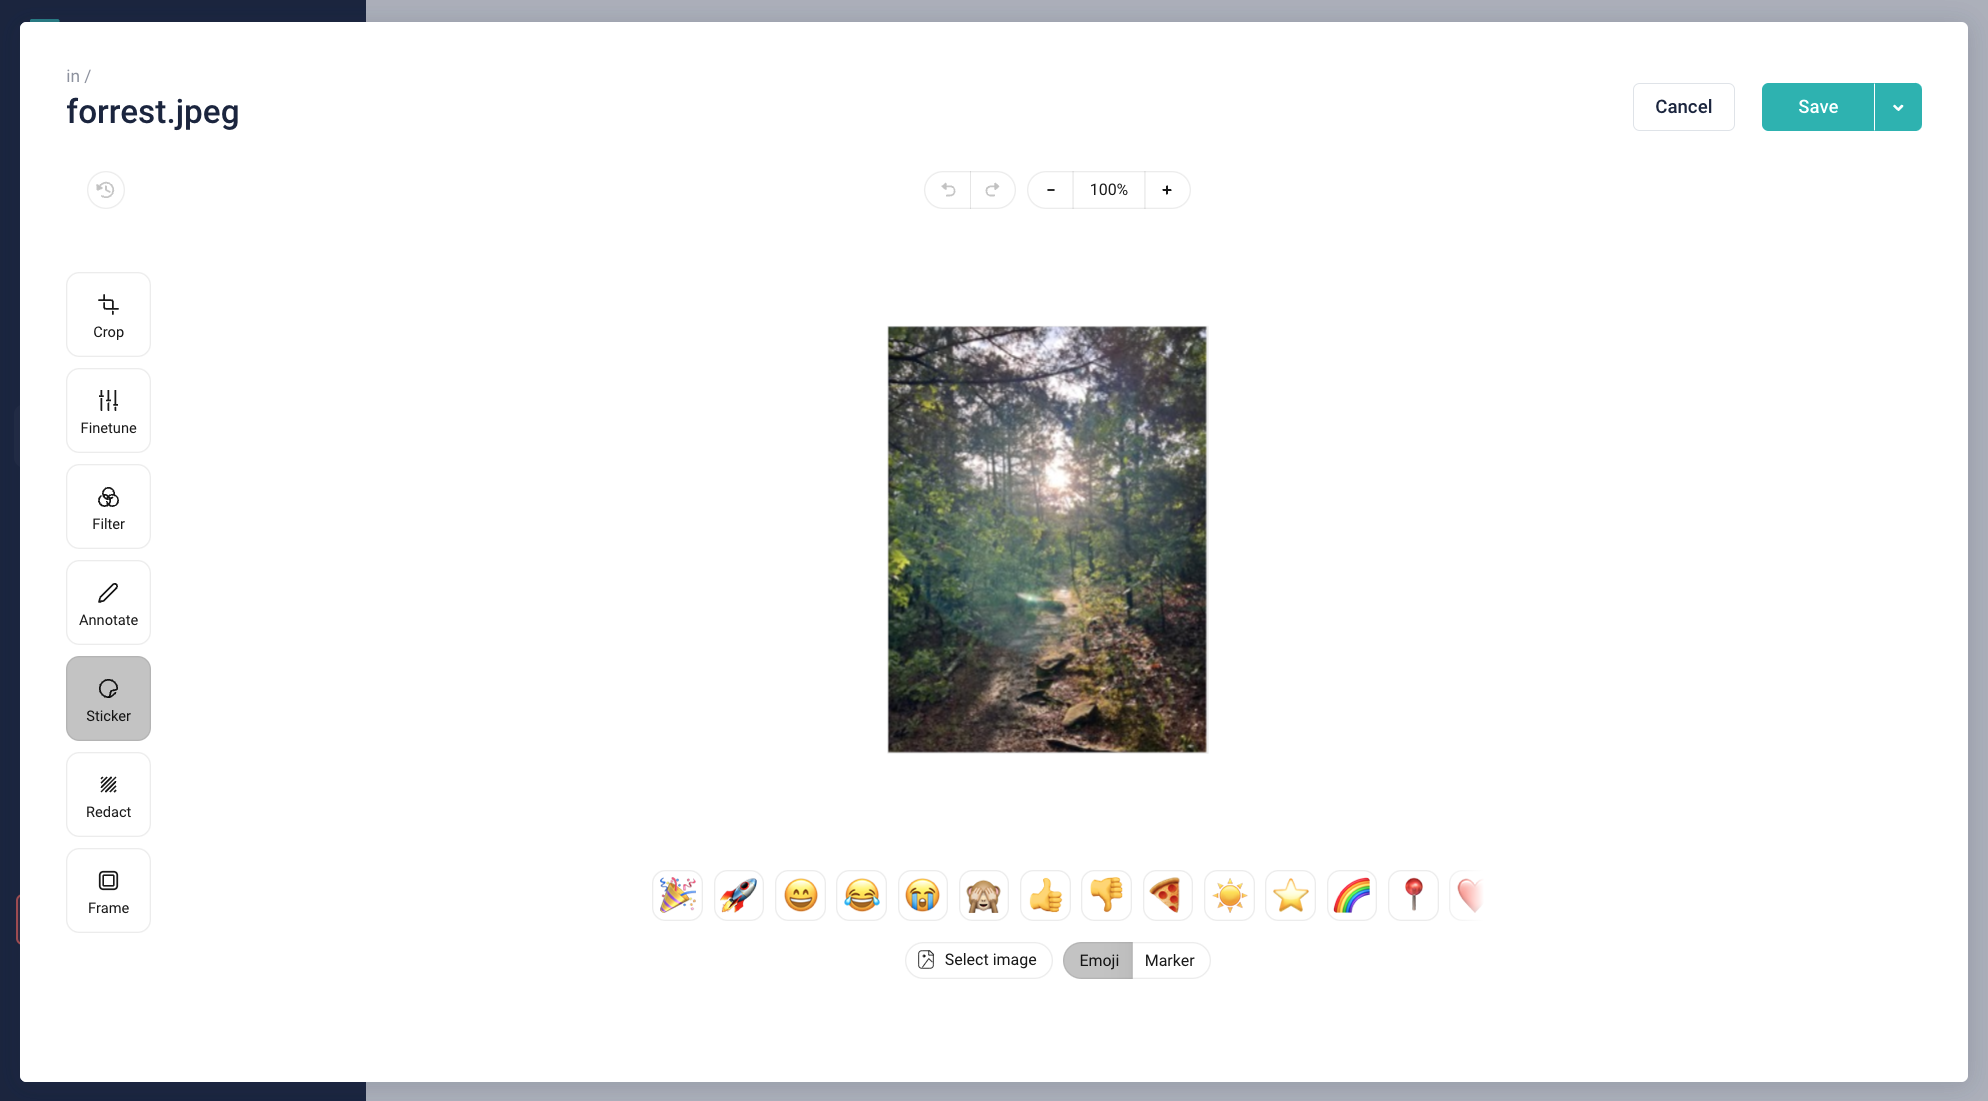
Storyblok also offers advanced editing. Start by clicking Open image editor {3}. There are 7 editing options in total on the lefthand menu: Crop, Finetune, Filter, Annotate, Sticker, Redact, and Frame. You will begin on the cropping screen by default.
Cropping allows you to change the basic presentation of the photo. You can crop out areas as well as mirror or rotate the image.
Finetune offers the ability to adjust image factors such as contrast, clarity, and temperature.
Filter allows you to change the type of viewing lens your asset is presented in.
Annotate helps you add lines, shape, and text to the image.
With Sticker, you can add Emojis and other images on top of your asset.
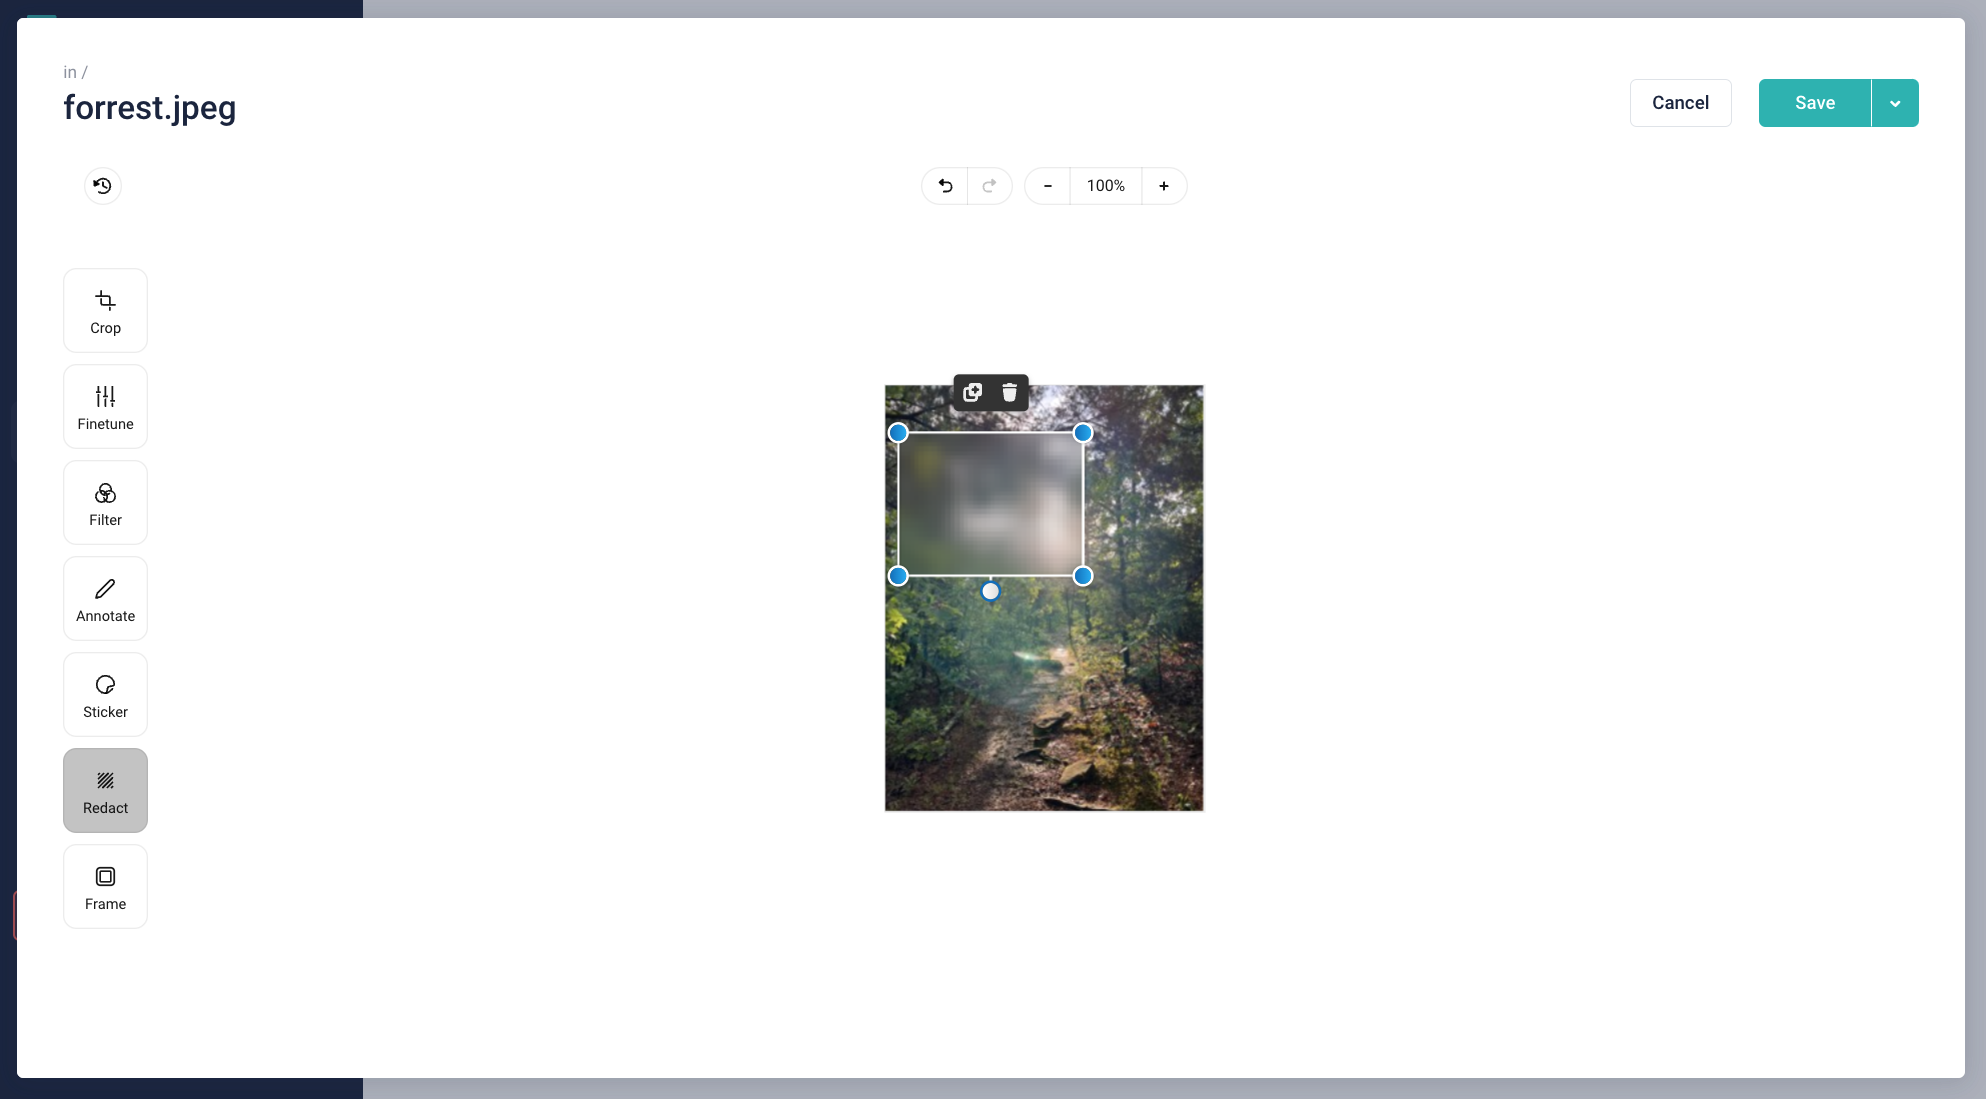
Redact allows you to blur out parts of or all of your image.
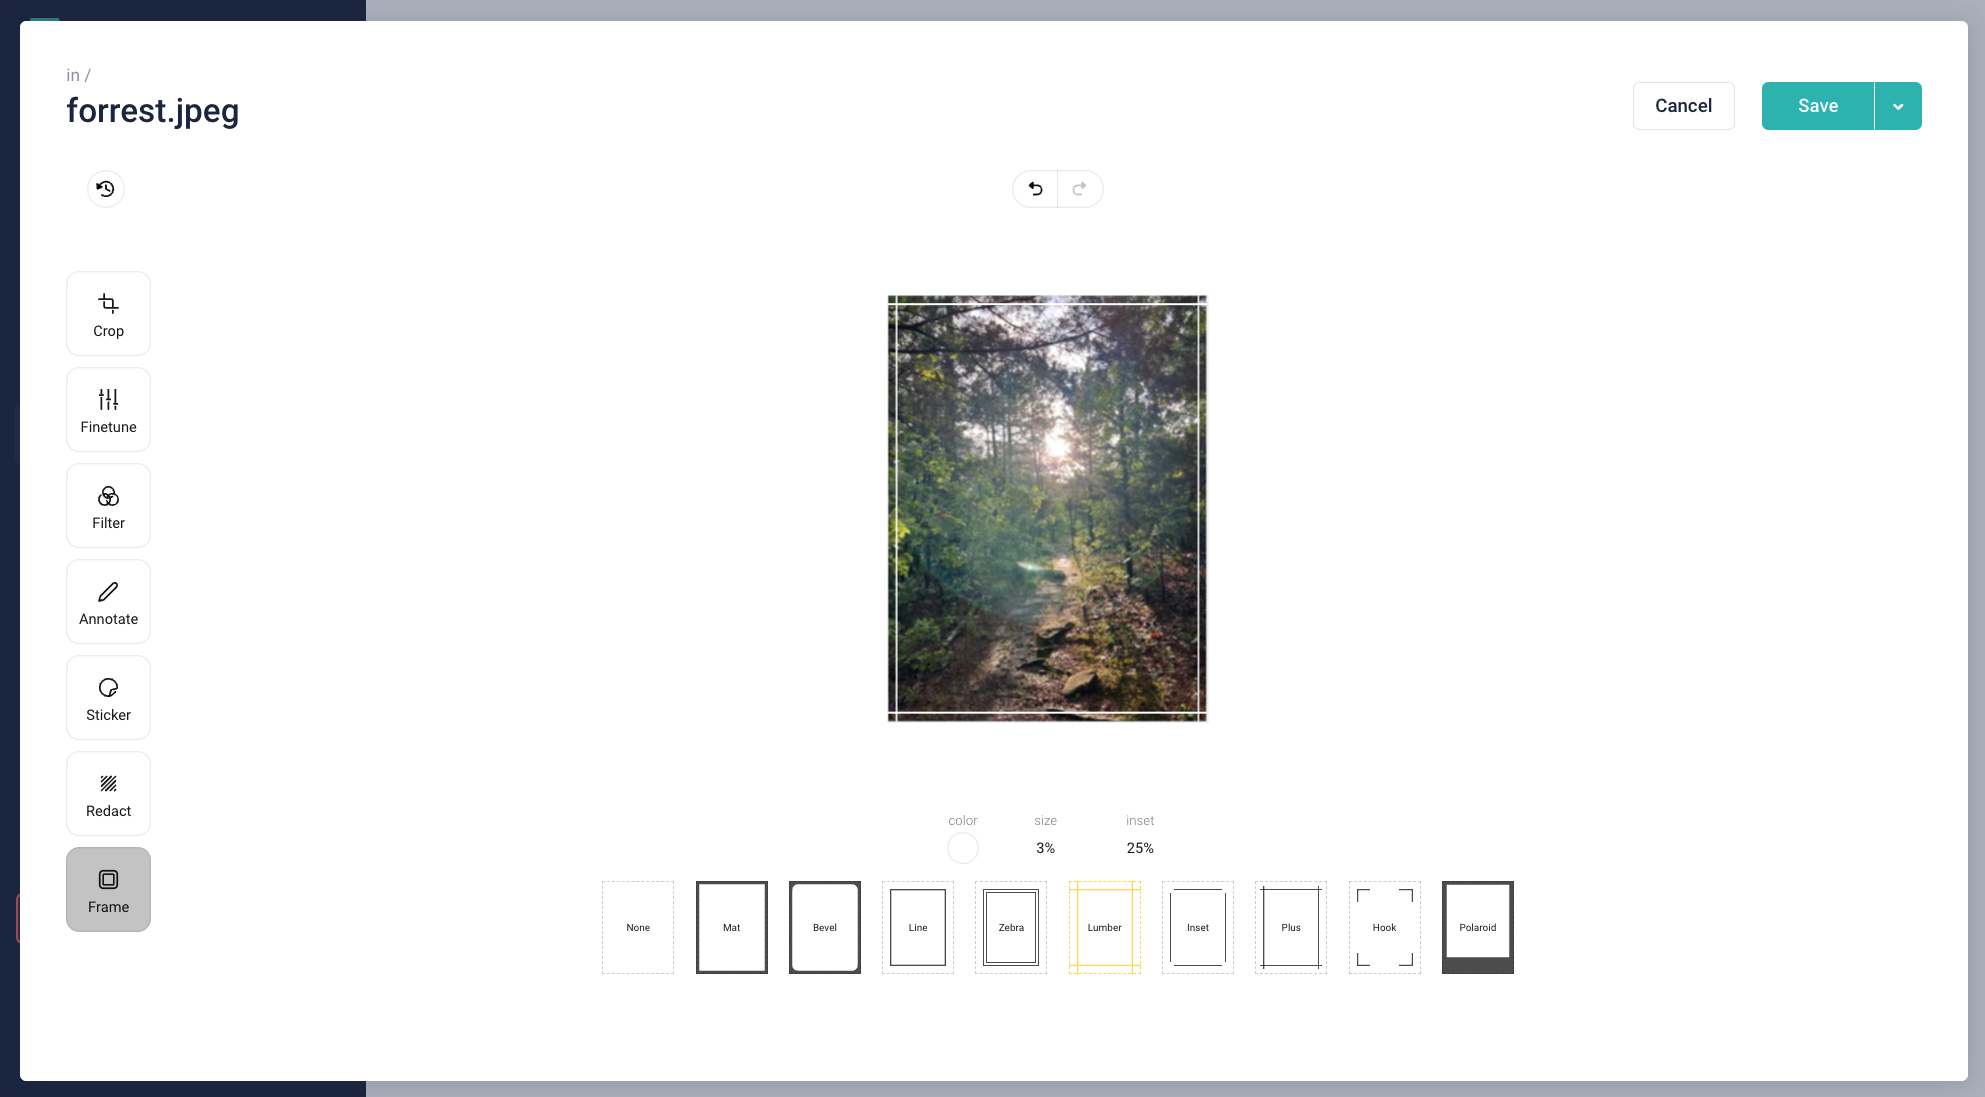
Frame offers the ability to add unique border patterns to your asset.
If at any point you want to undo any changes, simply click the undo button in the upper left corner {1}. You can also click Save {2} to save it as is or as a new image, or click Cancel {3} to discard all changes entirely and return to the overview.
Organizing the asset manager
Folders
The asset manager comes with several tools to help you keep your images organized. One of the most useful is the option to create folders. You can either move assets in the View Details screen (see the Editing Assets section) or do so from the main asset screen:
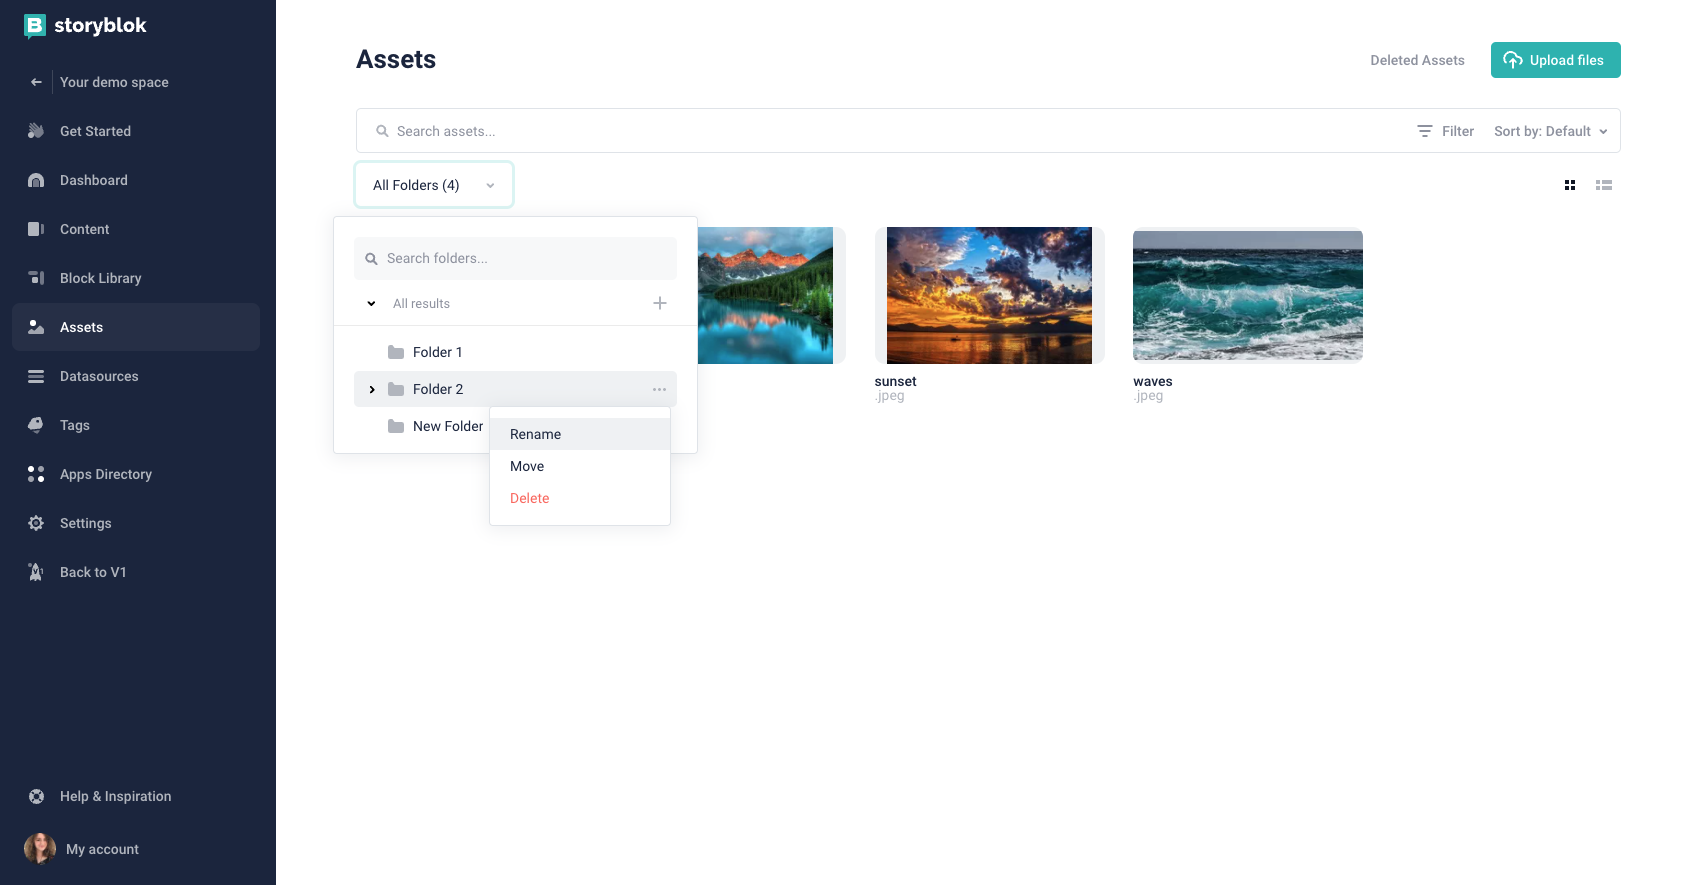
Click the Folders option in the upper left corner {1}. Click on the folder you want to view to see its content. Search through existing folders in the top bar {2} or add new ones with the plus icon {3}.
You can also manage individual folders. Click on the three dots to the right of the folder you’d like to change {4}. From here, you can rename, move, or delete them.
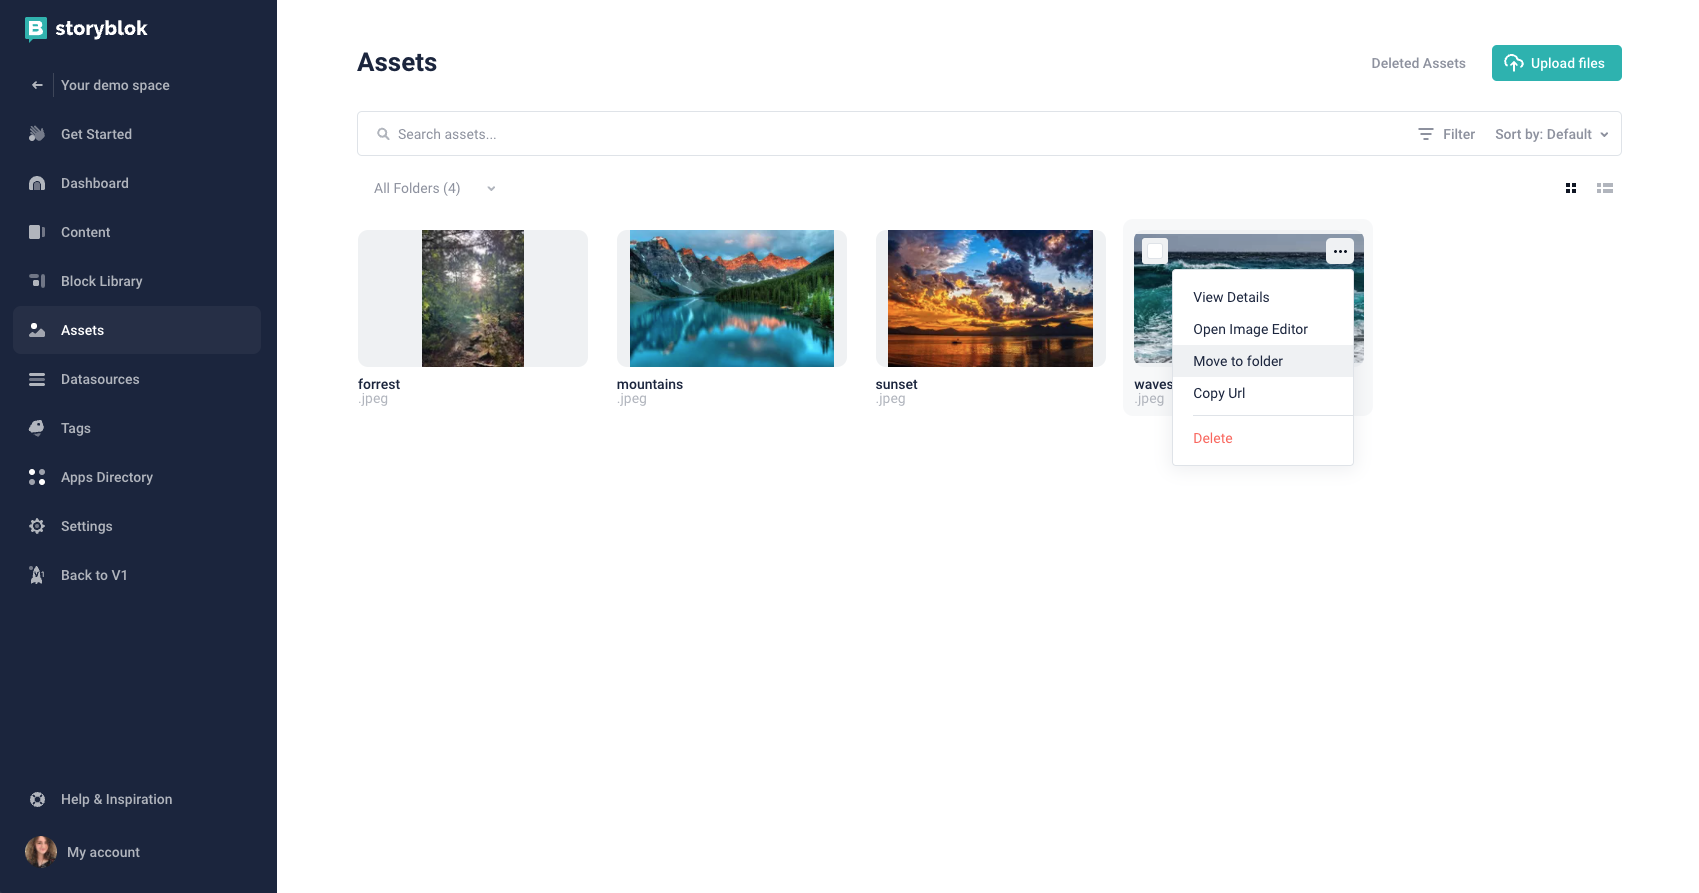
To move assets into folders, hover over the asset. Then, click the three dots in the upper right corner {1} and select Move to folder {2}. You will then see a folder menu with all of your options.
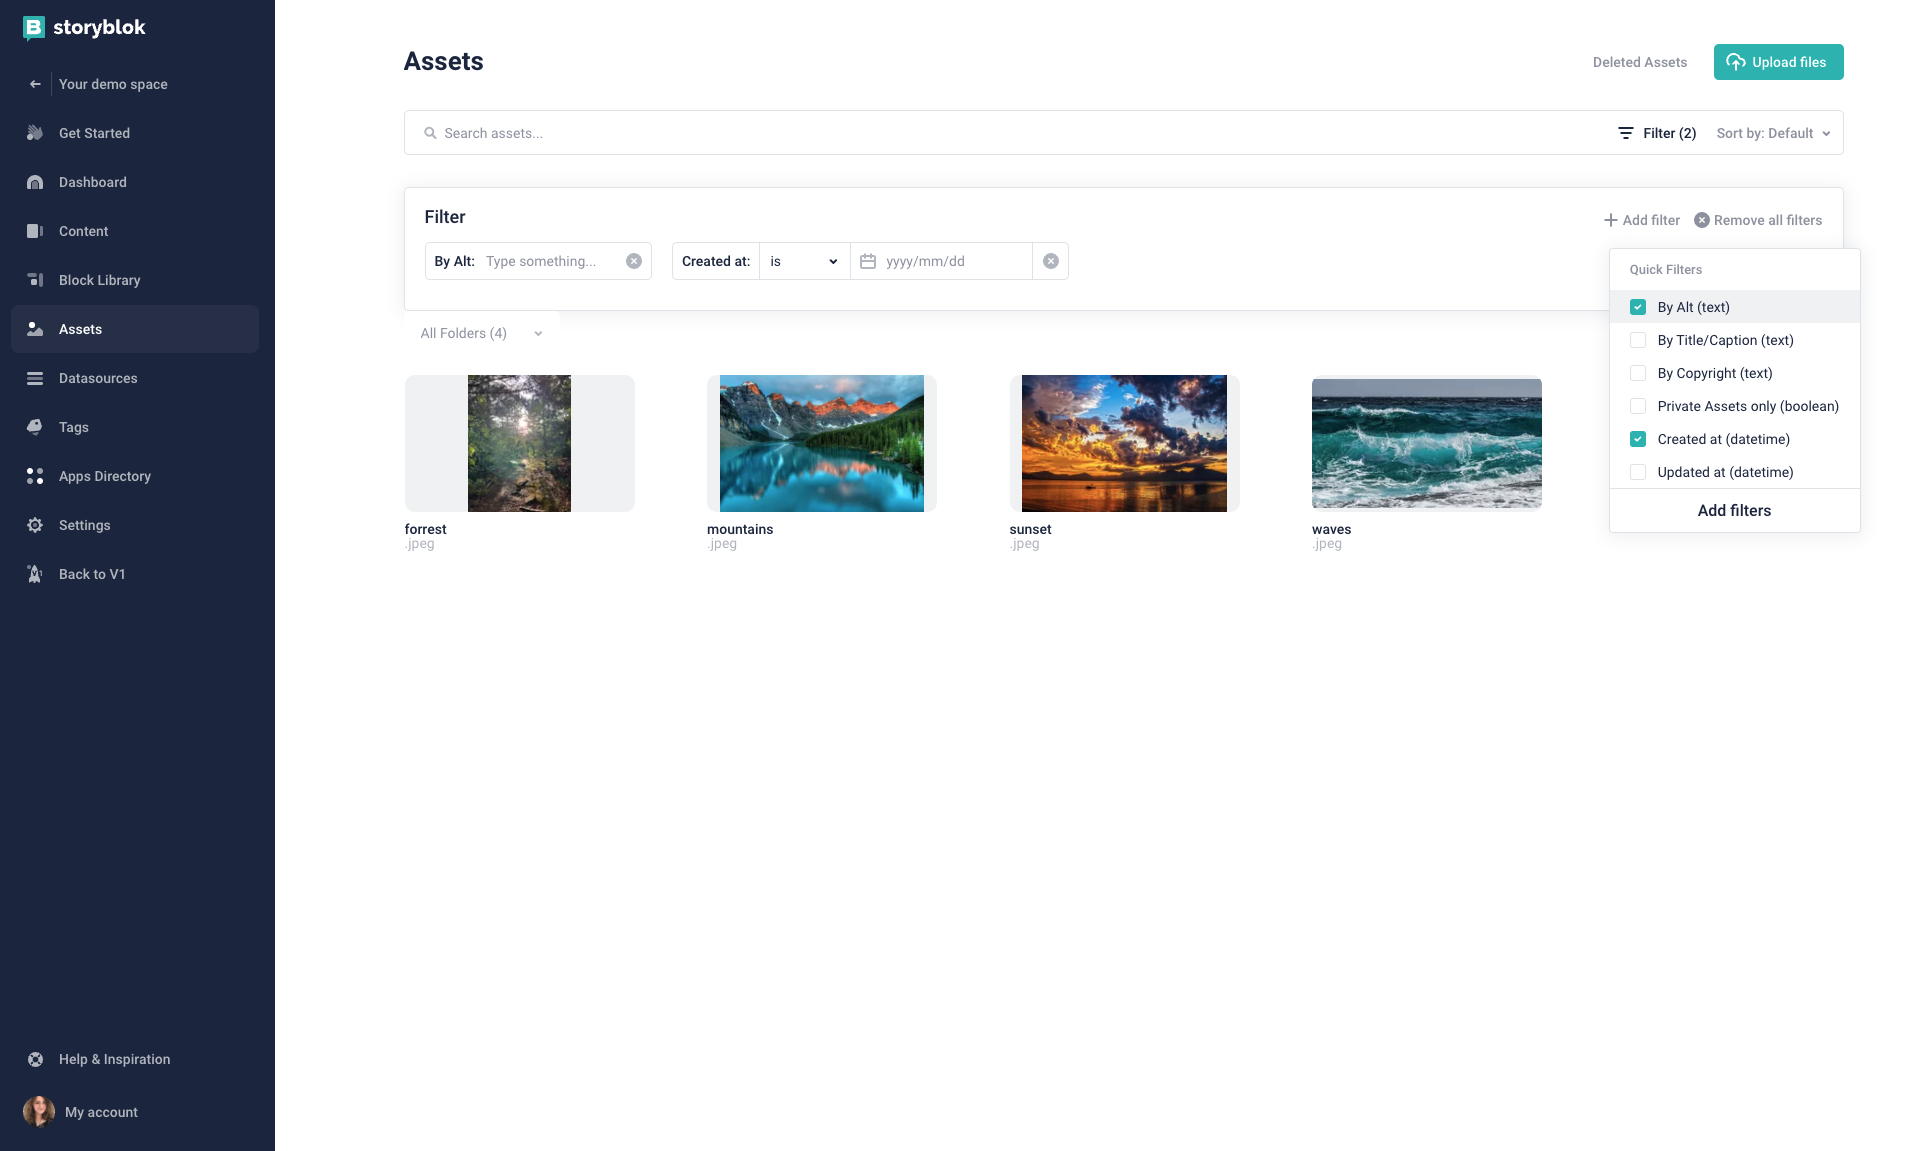
If you want to search for a specific asset, you can enter a relevant search term in the search bar {1}.
For a broader view, you can also apply filters {2} to narrow down assets based on traits. For example, you can enter a specific date to view assets created at that time. Keep in mind that you can also select multiple filters with the Add filter button {3}.
Finally, you can use Sort by {4} to arrange your results by criteria such as name or when it was updated.
Bulk organizing
You can also organize assets in bulk:
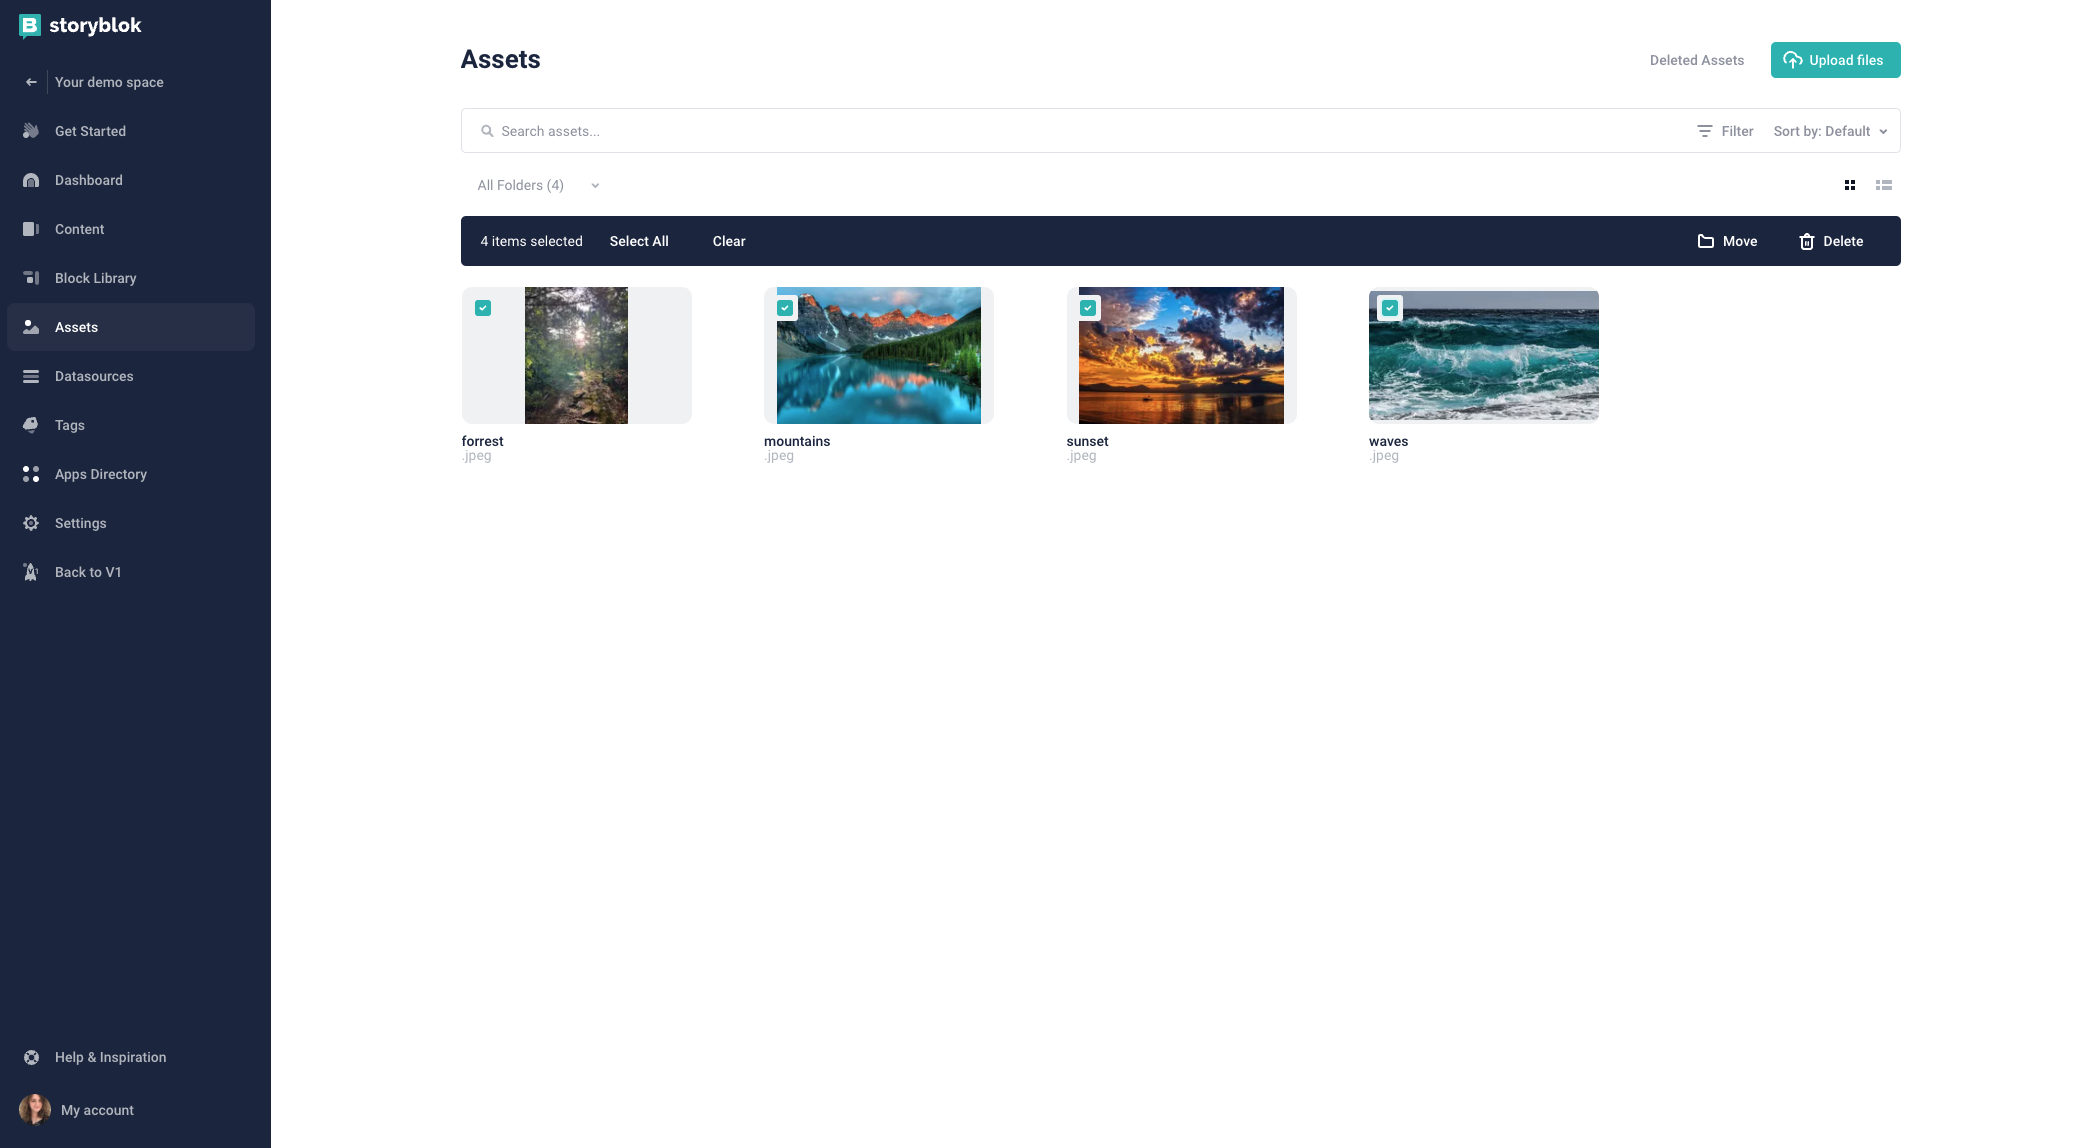
Select the checkbox in the upper left corner {1} of the assets you want to organize. Then in the dark blue bar above, you can move {2} or delete {3} those assets.
Recovering and permanently removing deleted assets
If you want to recover your deleted assets, start by clicking Deleted Assets on the main Assets page. You’ll then see the following screen:
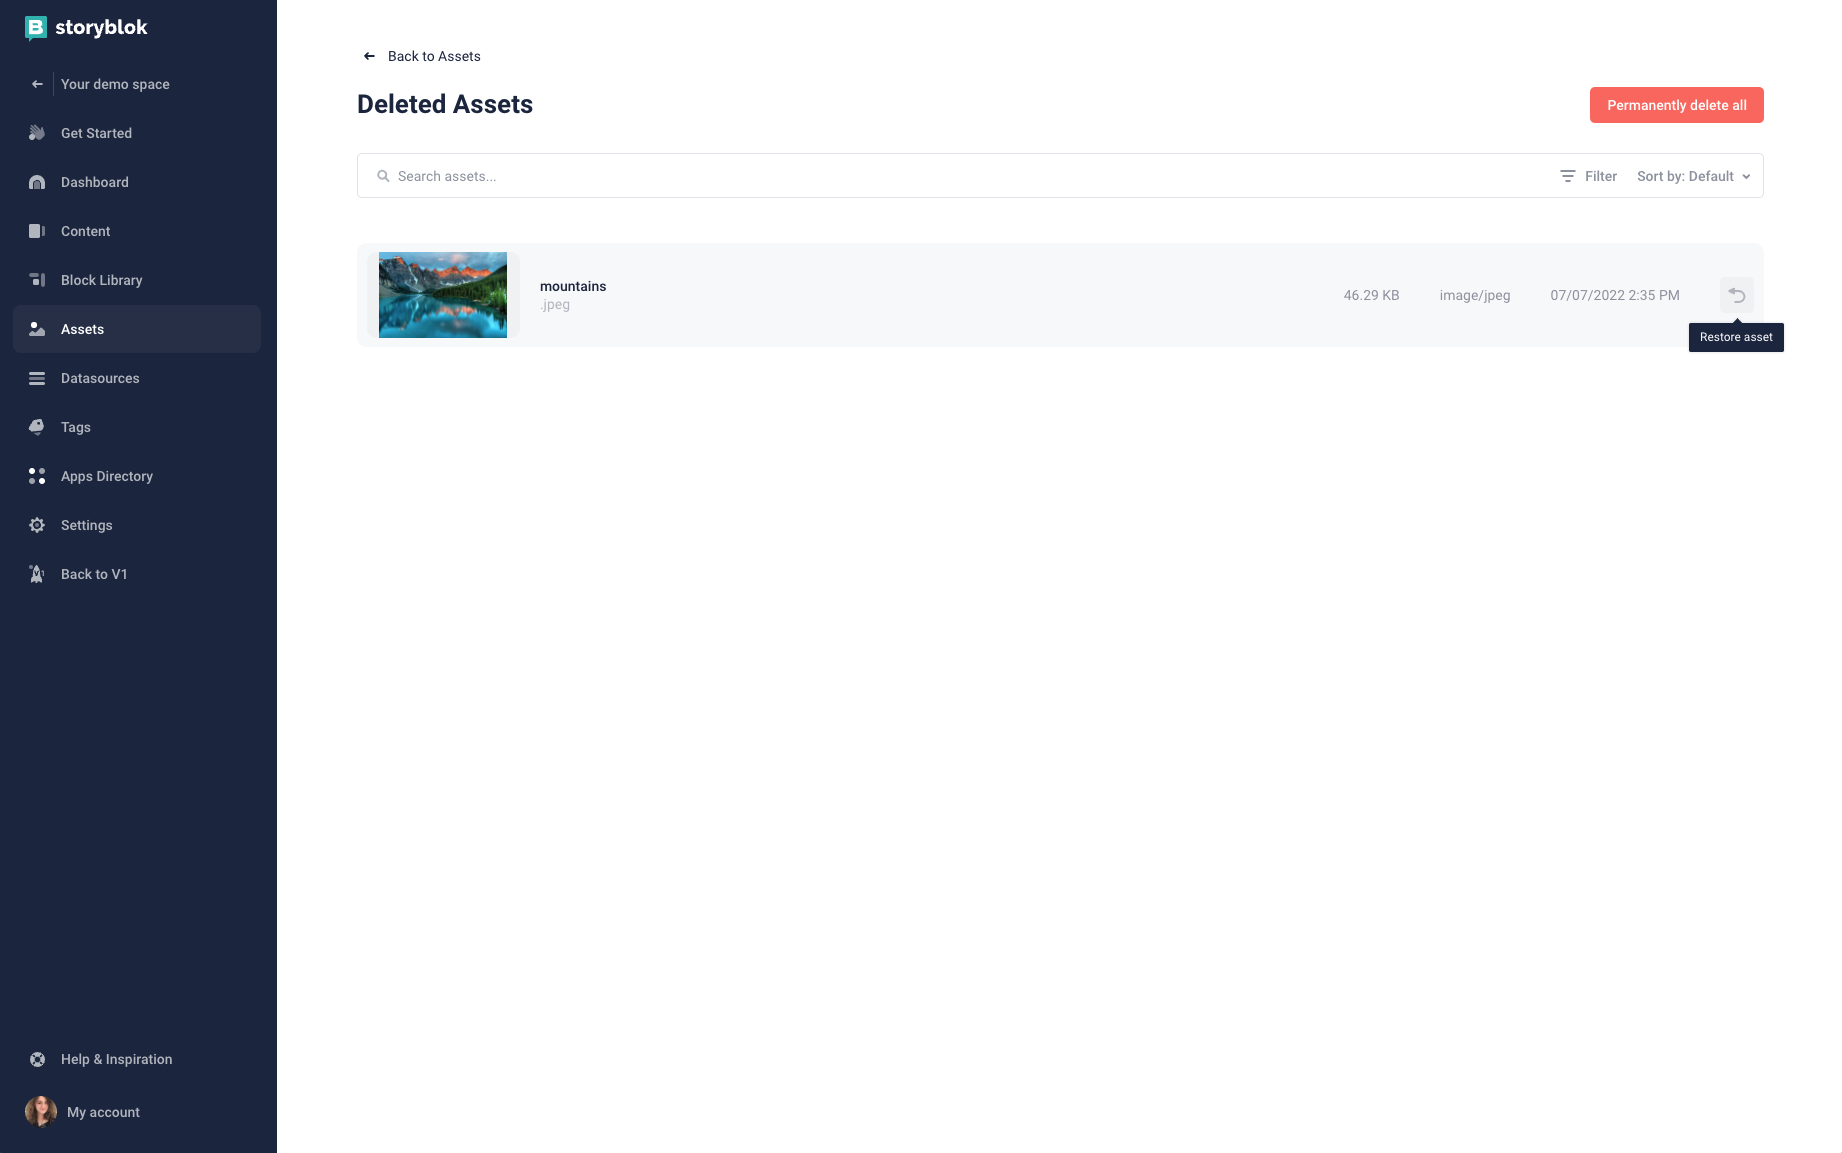
Just like with the rest of your assets, you can search, filter, and sort deleted ones up top.
Each asset will display its size {1}, format {2}, deletion date {3}, and an option to restore it {4}.
If you want to delete all selected assets, click on Permanently delete all {5}. This action cannot be undone.